


Fab Fete- Korean 1st Birthday Details on a Dohl
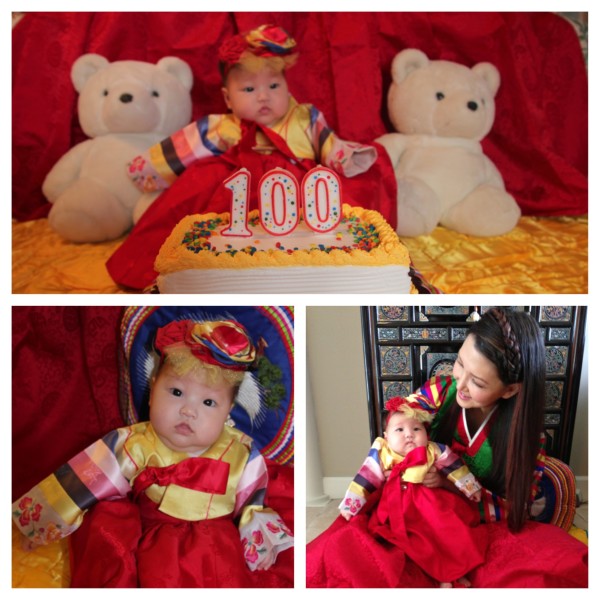
Koreans mark the 100th day, 1st birthday and the 60th as momentous occasions similar to how we Americans might celebrate a sweet 16 or bar mitzvah. Above are some shots from when Juliet was just 100 days old. Both of us are in our hanboks (Korean traditional dresses). And it seems like just yesterday when we took these shots and she could barely sit on her own. Yet here we are months afterwards, celebrating her first year. Click here and here for the details on her birthday party’s decor and all the DIY details. This Fab Fete post will focus more on the traditional Korean ceremony, the doljabi.
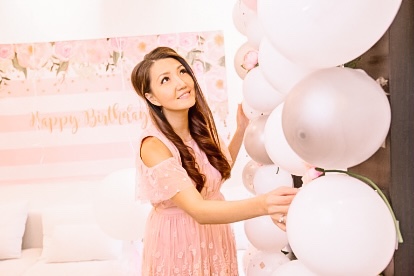
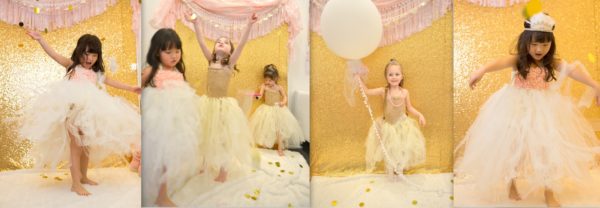
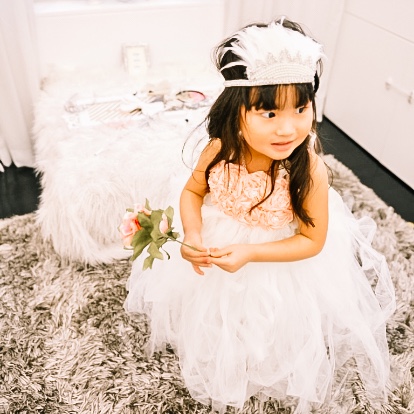
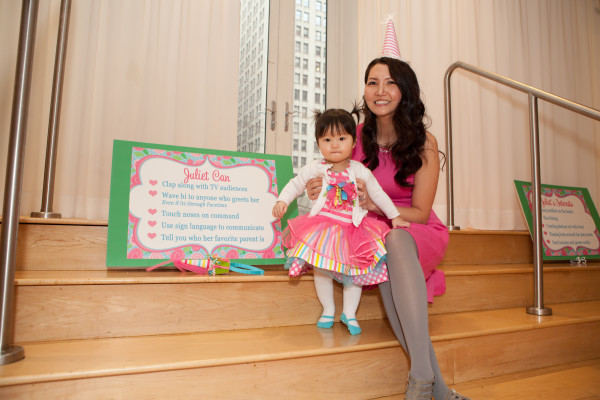
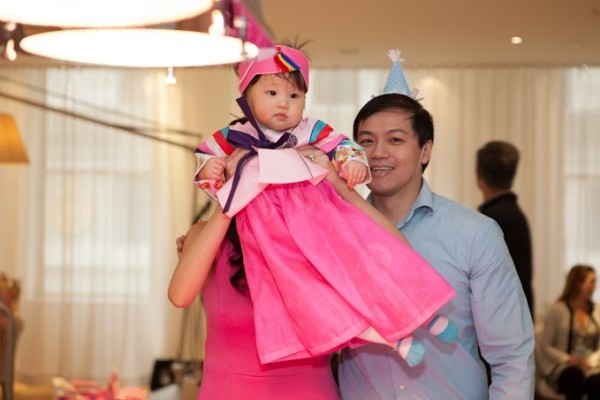
Both hanboks that you see featured on little Juliet were rented from Little Seouls Party for $45 (half the price of buying one and then never wearing it again). They are the only English online store that rents Hanboks -believe me I searched around! And thankfully, they were great to work with, answering all my questions and guaranteeing my shipment by the requested date.
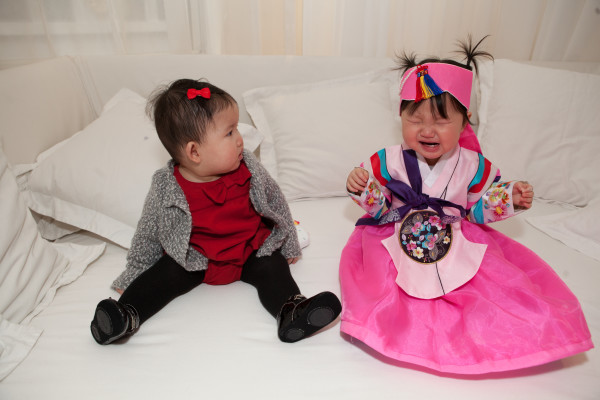
“It’s my birthday and I can cry if I want.” Teething sucks.
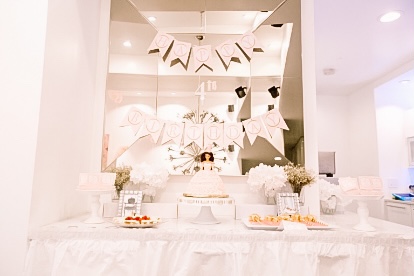
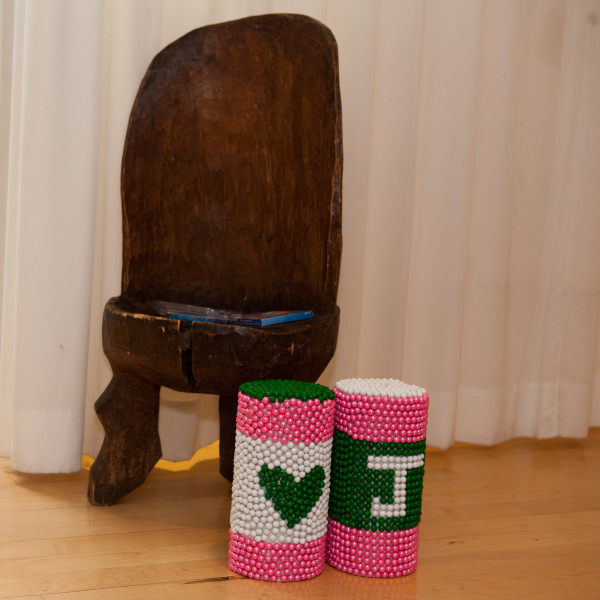 Every Korean first birthday features dol towers like these. Traditional ones are made with black and cream colored beans but that didn’t match my decor so I took the liberty of making mine with pink and green candy (along with paper towel rolls, and a glue gun). Gettin’ crafty here! Before you know it, I’ll be scrapbooking and weaving baskets! Also, I chose not to follow the usual tradition of placing these at the head table, or in my case, the dessert table and instead sat them next to the children’s art easel area so that section would tie into the rest of the party decor.
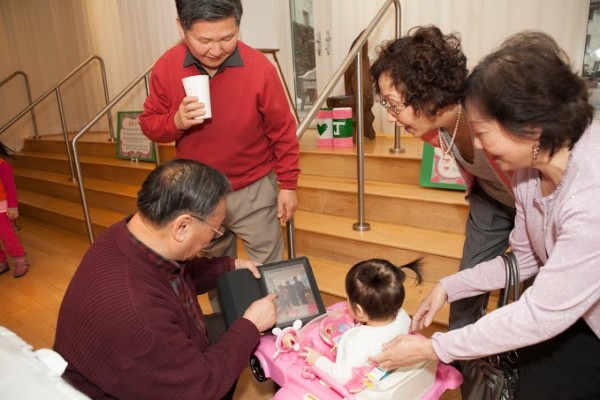
That’s the easel and drawing station in the background there with the grandparents and Juliet in the foreground. For more on the fun fact signs that you see besides the art station, see my earlier post.
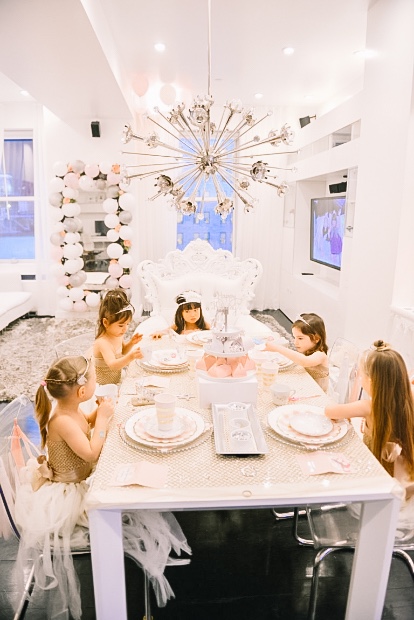
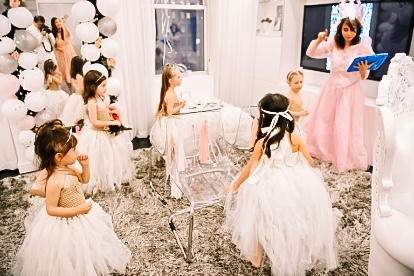
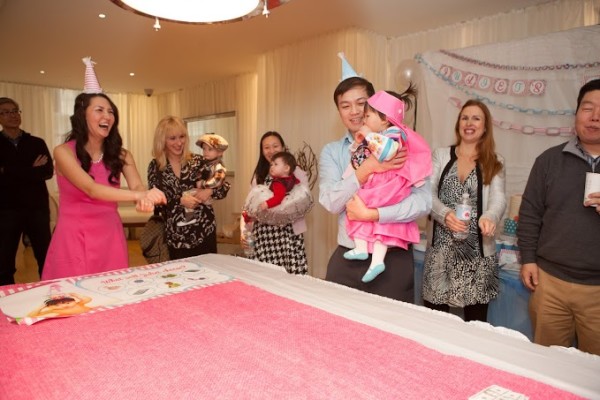
Onto the main Korean cultural ceremony, the doljabi. This is where the child is presented several items, all of which represent something for his/her future. Whatever the child picks up first is supposed to predict the future. Traditional items include rice which symbolizes an abundant life, yarn or string which symbolizes a long life, a book or pencil which symbolizes academic success, cash which represents wealth, and some sort of doctor and lawyer professional items. I chose to modernize my doljabi by adding in career symbols that matched our careers (something in fashion and something in finance). And for a fun touch, I played ‘gangnam style’ music in the background and had Psy as one of the items to choose from. All other party background music had ‘baby’ in the lyrics. ‘Rice Rice Baby’, a mock of ‘Ice Ice Baby’ was a perfect fit for this occasion.
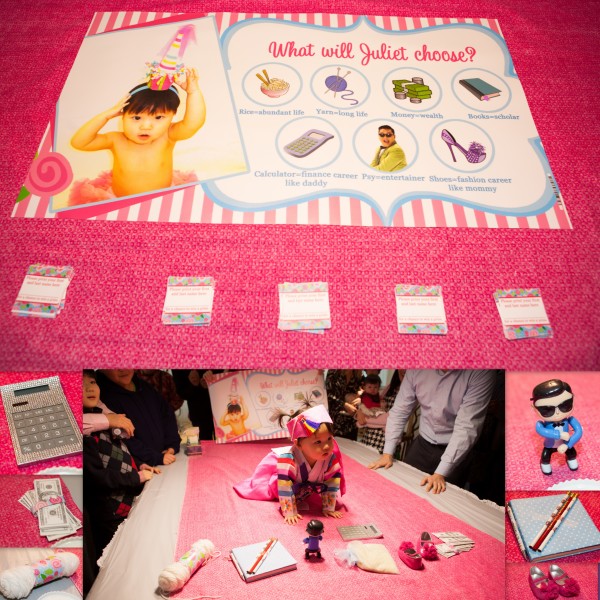
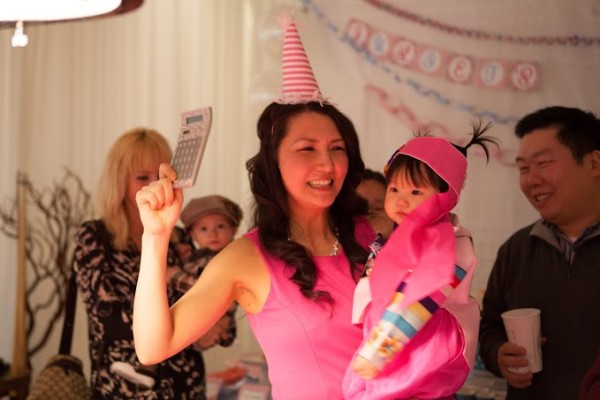
Guests fill in the raffle card with their name and place it by the item they think she’ll choose. Juliet crawled over and with eyes glued to Psy, then freaked out when she heard everyone cheering for her and started melting down under pressure. But on the 2nd try, she chose the crystal calculator symbolizing a career in finance (like daddy)!

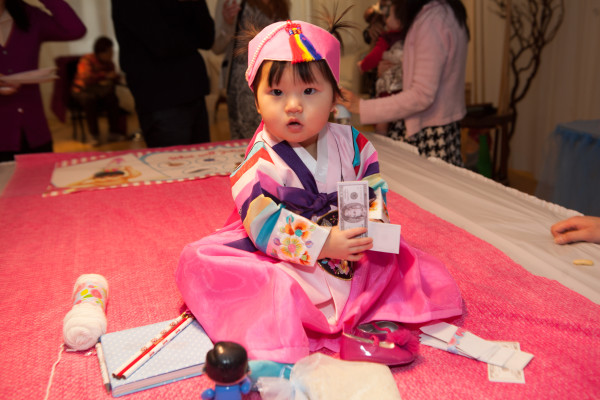
The cash was her 2nd choice.
Here are my roundup tips on how to make a first birthday affordable. I did this all on a strict budget and you can too!
- Cut staffing. Look around you and find talented friends and family to help you wherever you can. For us, instead of hiring an event planner, I did my own doljabi research, found all the necesary items and prepared all the party decor myself. Others may want to make their own food, have relatives bake, or have a talented friend take the photos/video.
- Skip the florals. They’re a luxury at a first birthday party and totally unnecessary.
- Shop sales ahead of time. You know the birth date so plan ahead. I covered that pool table in the middle of the room with a pink remnant cloth that I bought at an after-Christmas sale. Anything from platters to birthday dresses can be found deeply discounted around holiday shopping periods.
- Re-purpose stuff around the house. I took my husband’s extra tv stand box, covered it in patterned paper and used it as a riser for my dessert table. A bed sheet and curtain set became my dessert bar backdrop.
- Shop the dollar store. You can find everything from kid’s favors, to simple snacks and munchies, to art activity sets there. I bought all my tissue paper (which I turned into fringe), plastic tablecloths,yarn and money for the doljabi and other small items there.
- Check out wholesalers online. My balloons and candy were bought through an online wholesaler for example.
Finally, since every event has its mishaps, here’s my list of what went wrong:
- Someone accidentally tipped over an entire platter of kim bop, (the Korean sushi that I had at the snack bar). Luckily I was clueless to this fact until post-party when I disassembled the snack table only to find a mountain of uneaten kimbop on the floor, underneath the tablecloth. What a waste! I’m just glad I didn’t see it happen . Ignorance is bliss.
- The cake colors were off and it came out not like I wanted (topsy turvy is what I asked for) but I think this only bothered me.
- People had issues finding parking and therefore showed up late. So even though I had purposely planned it for the only day of the week where NYC had free street parking, and reminded guests with an email asking them to allot extra time to find parking, some guests had a hard time and I felt bad about this.
- With all that was going on setting up 4 different areas, I forgot to lay out the champagne and water bottles til half the party was over!
- The 100 balloons which I had planned to be blown up and scattered all over the floor so kids could kick their way through a balloon lounge never got blown up. This is thanks to me hiring my hubby as my event assistant. Event planning newbies always under-estimate the time it takes to finish event planning tasks.
- Cake is not as irresistible as I had thought. I ordered 1 slice for each person and could have fed my entire apartment complex because of it. We had way too much cake. For my (strange) guests, I learned I need only order for only 1/3 to 1/5 the amount of people who RSVP. I was left hawking cake to the doormen, guests and anyone who looked hungry.
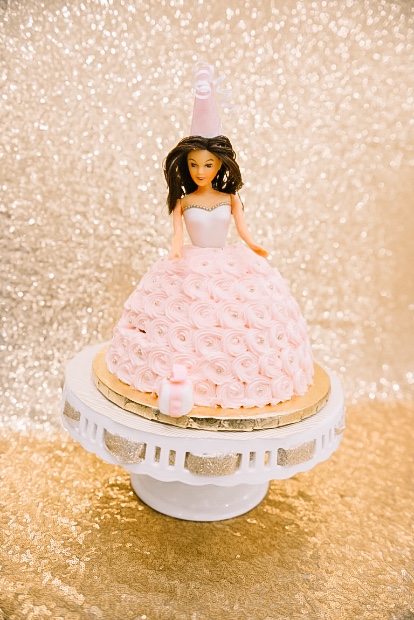
Here’s a shot of Juliet post-party enjoying her 2nd cake smash. We added parts of her presents (the princesses) to the cake and used them as cake toppers.
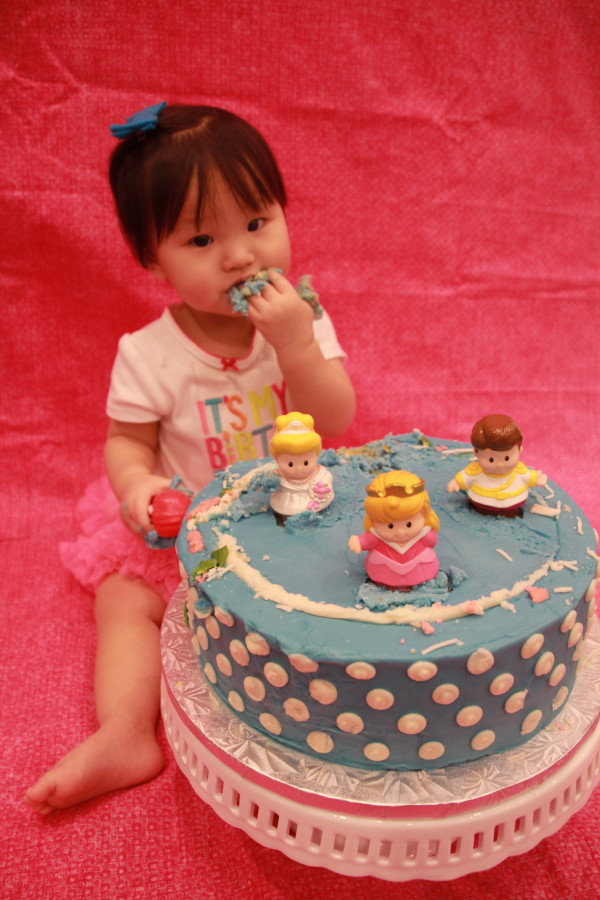
Happy Birthday Juliet!
Read on to see all the details of the rest of her party!