


Fab Fete – First Birthday Party Part 2
 Food and beverage is such an important part of a successful party. It helps your guests feel welcomed, cared for and comforted in a new setting. It can be the most expensive part of a party budget though. Most people balk at the per head cost venues charge for weddings for instance. And though some celebrate the Korean first birthday as if it were part 2 to their wedding, (same guests, similar budget), I chose to celebrate on a budget and cut corners wherever I could. It’s a baby’s birthday after all!
This meant lots of DIY (see earlier post), and this meant no sit-down meal. Sorry peeps! I did price out a sit-down brunch in NYC at several mid-tier venues at the beginning of all this party planning but quickly learned we couldn’t afford it as they all ran around $60/head (yikes!) We just finished a home renovation so the last thing we needed was to try and feed 70 guests a $60 per head meal -especially if that only covered simple items like pancakes and fruit! So I timed the party mid-day, sort of in-between meals (2-4) and worded the invite in such a way that it hinted not to expect a full meal. You would understand this to be the case if you received this invite, wouldn’t you?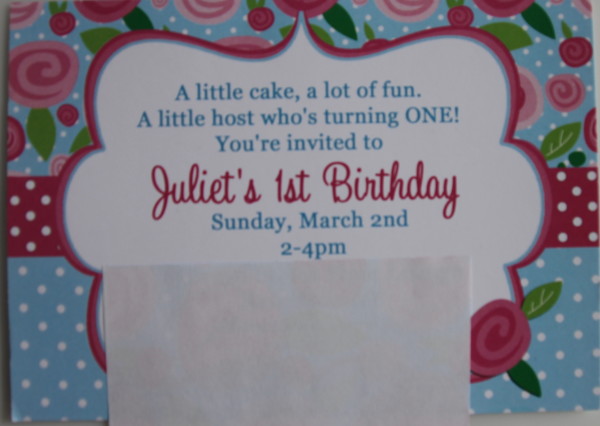 My husband worried that despite this subtle warning, his side of the family would fast all day in anticipation of a party where they could feast for free. I balked at the thought of this but resolved to have enough snacks to satiate hungry party go-ers anyways. So in addition to the dessert bar where the birthday cake would be the star, I knew I had to have a separate table for snack-able, savory bites.
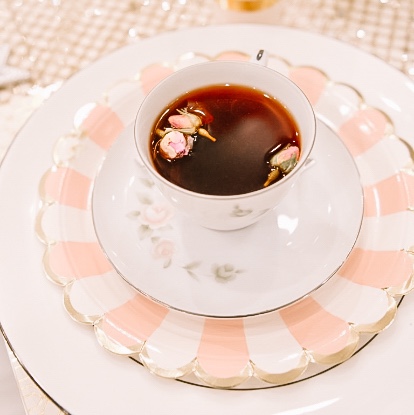
One rule presided over all the menu planning – no sauces, no dips, and small bites ONLY. This was the rule at Saks Fifth Avenue where I worked as their Marketing /PR Director and planned 125 events a year for them. And this was going to be the rule at my party too. It’s hard to be chic and elegant when you have sauce running down the side of your face. Also, it’s not like we had seats for everyone, you were expected to walk around and mingle for the most part so the items had to be things you could eat on-the-go if you will. The items also had to be tasty cold. I wasn’t going to hire cater waiters to serve hot hors d’oeuvres for this 2hr party. We aren’t that fancy. And yes hubby, there’s a microwave in the party lounge but I’m not asking guests to microwave their cold dumplings. We’re having kim bop instead darnit!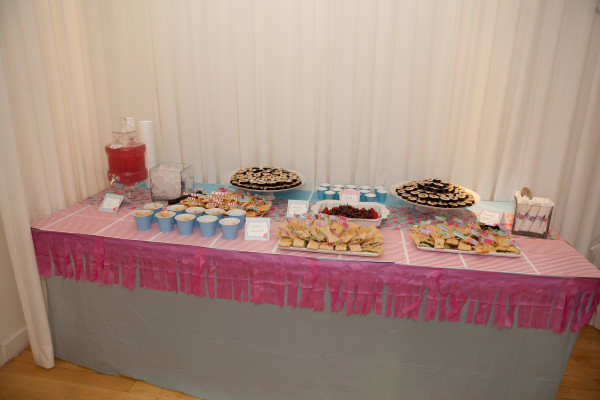 To incorporate both cultures (he’s Chinese-American, I’m Korean-American) I mixed in American, Korean and Chinese snack/dessert items hoping guests might enjoy being adventurous and trying something new and also as a way to honor both heritages. However, it seemed impossible to find any cold, Chinese hors d’oeuvres or snacks that my husband and I could agree on so at the snack and beverage bar, we offered:
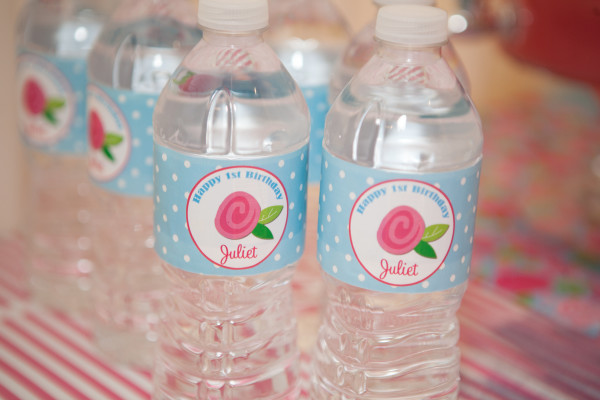
- bottled waters, stickered in the party’s theme and colors
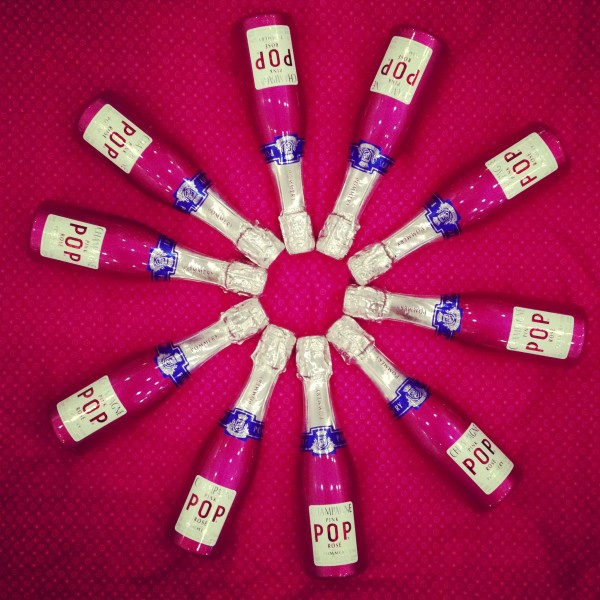
- Pop champagne (not pictured here but shown in the blog’s first photo)
- pink lemonade (never had time to slice up the lime and add in like I wanted)
- Korean kimbop
- Korean shrimp chips
- wasabi snow peas
- Cosi finger sandwiches
- alphabet cereal for the kids
- fruit
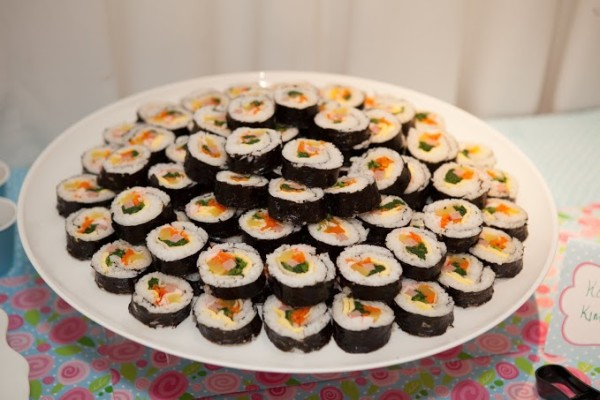
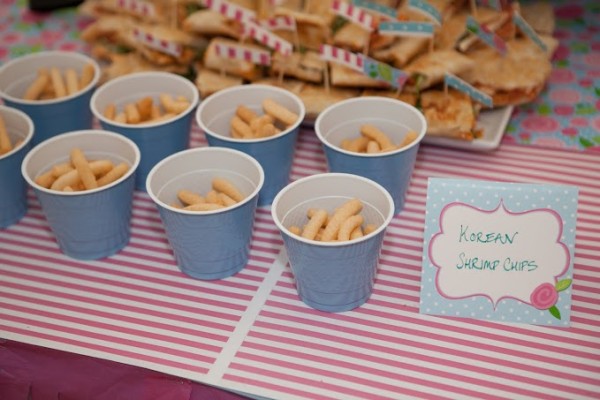
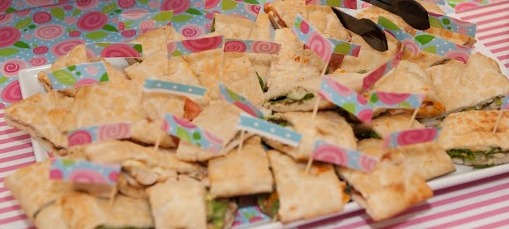
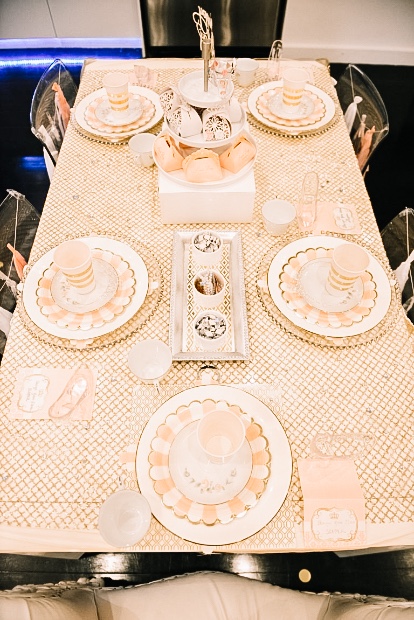
It’s important to make sure both kids and vegetarians have some healthy options. And always, always, re-plate any items that come from an outside vendor. Don’t leave the sandwiches in the Cosi tray with their branded napkins for instance. Re-plate-ing and tying in your decor is an easy way to upgrade any store-bought item like shrimp chips. Another tip- you’ll see that the table runner, menu signs, toothpick flags and napkin holders are all made of the party’s patterned paper and help make all these random items look like they work together. Yes, even food has to match. It also helps that the party platters are the same neutral white. In case you were wondering, all party platters that you see in this post can be bought at Crate and Barrel as well as Bed Bath and Beyond. Not to be hyper-critical but I look at these photos and wish I had more time to finalize the presentation of this table. But alas, I also had a dessert table and cake smash area to deal with before all the guests arrived. FYI, we also had a coffee and hot chocolate station at the party which is not pictured here.
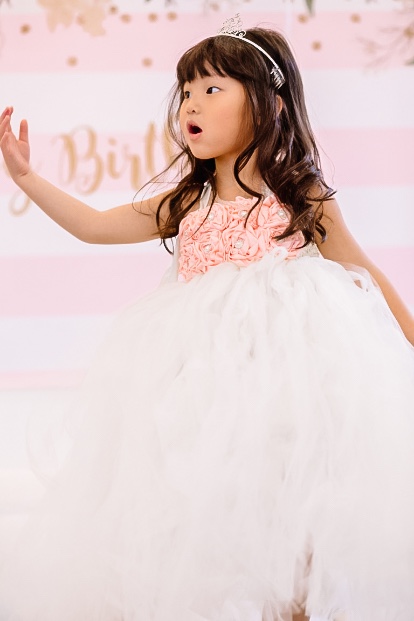
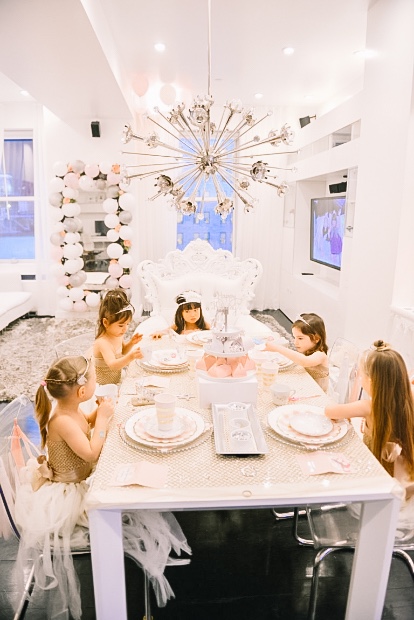
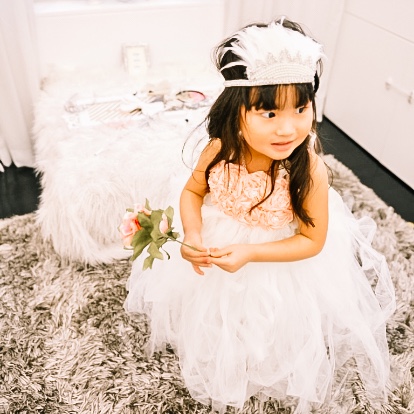
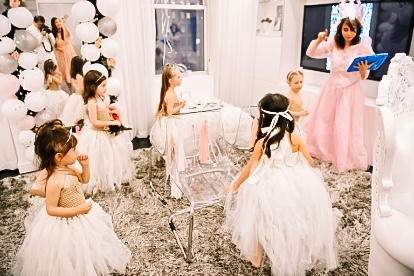
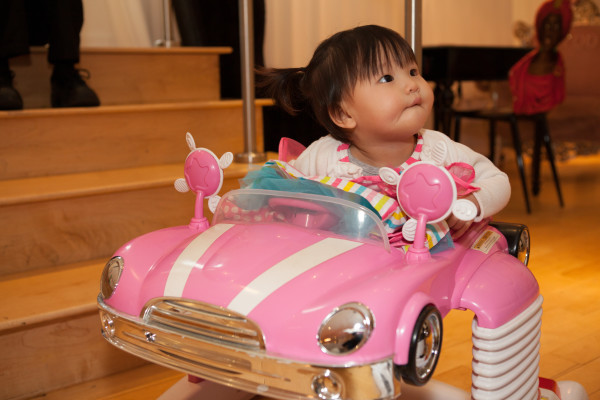
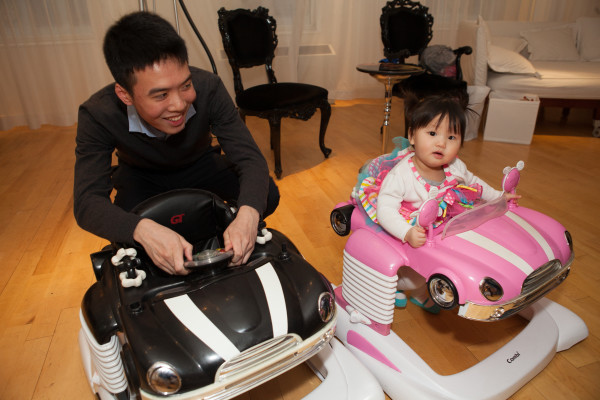
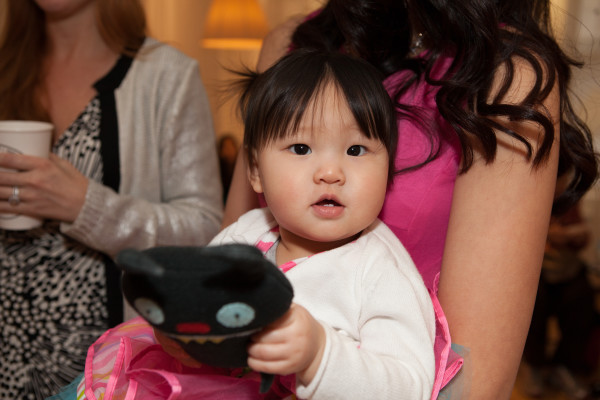
Here is Juliet racing around the room saying hi to all her guests while the adults mingled.
Onto the cake smash area which is the 2nd thing guests saw as they walked through the door.
A lot of people nowadays are having cake smash photo shoots where the birthday baby is photographed eating (mostly smashing) a miniature birthday cake. It makes for lots of messy but adorable photos and is usually done before a birthday party at a photographer’s studio. I decided to incorporate it into the party as an event within an event.
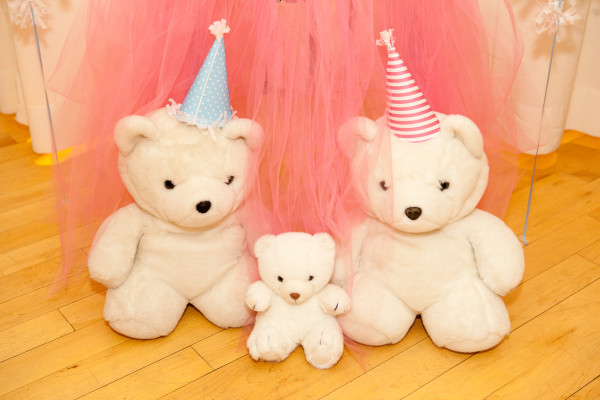
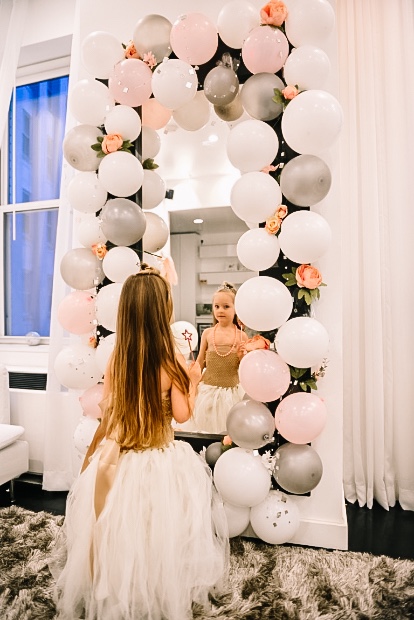
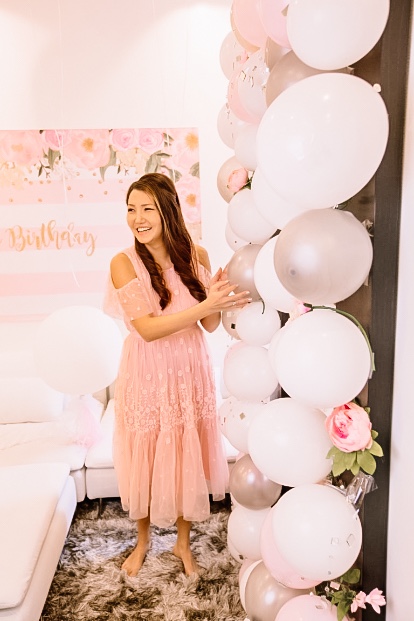
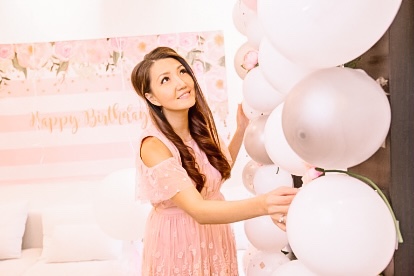
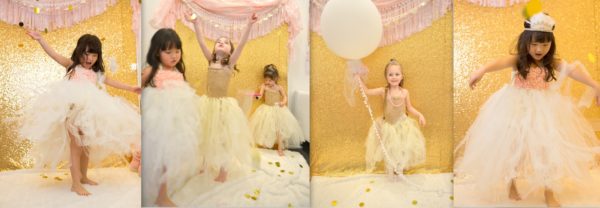
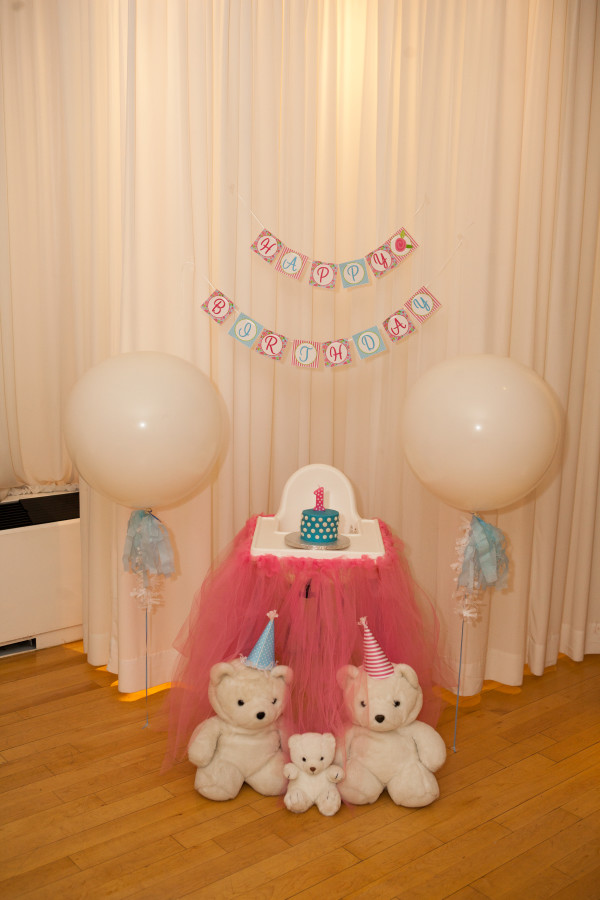
I actually drew out this vignette and what I wanted it to look like as I was planning the party so it was exciting to finally see the vision come to life. I knew I wanted her to sit in her high chair rather than sit on the floor as most cake smash’s are usually done because this way guests could see her better. I knew I wanted to decorate her high chair and have giant balloons in the picture. And I figured I would balance the photo opp out by having something sit at the bottom. The teddy bears (which were actually mine as a child) seemed to be the perfect thing to place at her feet. 3 bears representing our little family and wearing the party hats I made added to the cuteness factor. The oversized balloons which I bought on Amazon.com were tied with coordinating ribbon and garland made out of tissue paper that I cut. The tutu skirt tutorial can be found here and is super simple to do (just need elastic and a roll of your favorite tulle). The birthday banner (and all paper products that you see here was designed around the invite and dress by That Party Chick).
Of course when you have kids as guests at your party, you can never count on your decor staying in position through the party. Especially with balloons, you’re bound to have a burglar or two. I’m not sure what happened to the balloons I had so artfully placed besides the high chair at symmetrical heights to one another but by the time we sang her happy birthday and the crowd was cheering her on while taking photos, the balloons were nowhere in this picture-perfect sight! I was too enthralled by little Juliet’s brave reaction to all her paparazzi that I didn’t even care.
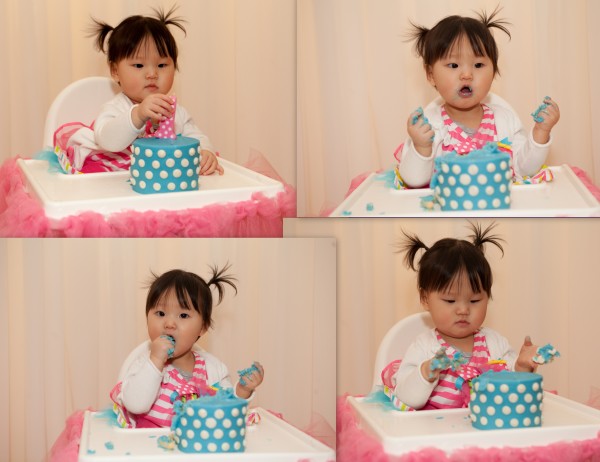
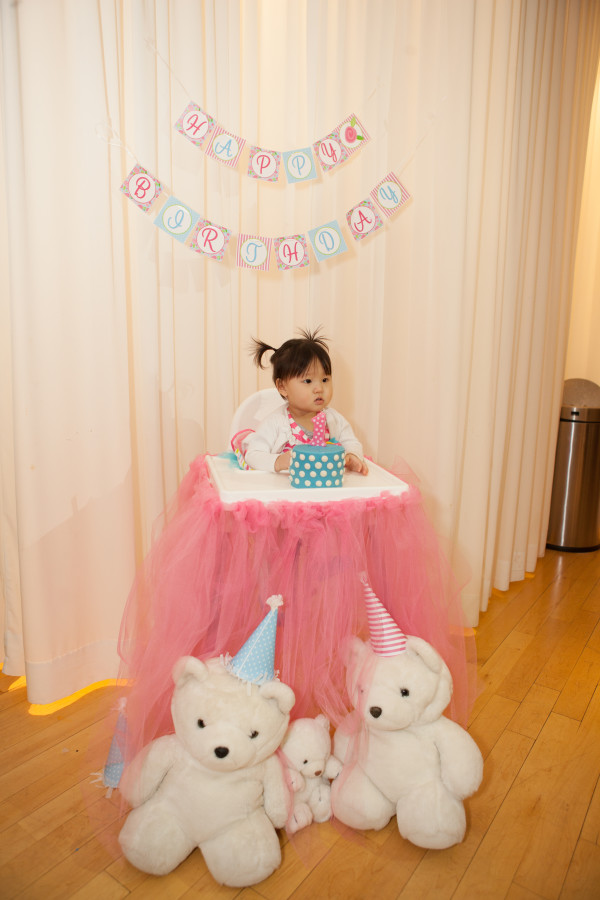
Of course, little Juliet was simply happy to dig right in – balloon decor next to her or not. Apparently the number 1 looked especially tasty since that was the first thing to go into her mouth.What was funny to me was how my Korean mom (who never saw nor apparently understood the point of a cake smash) whisked her away once she thought Juliet was making too much of a mess. She didn’t want Juliet to ruin her outfit and decided on her own to rescue the fashion in exchange for extending this wildly funny photo shoot. I guess I should have better briefed her on this new cultural tradition.
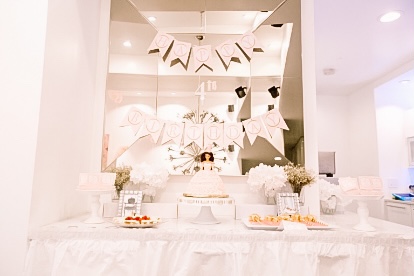
The dessert bar was my favorite thing to design and decorate because it brought me back to the days when at Saks I did this for our teen prom parties, or matched a new spring fashion collection to the colors of my dessert bar. Of course back then, I had an assistant and an intern to do the busy work of wrapping chocolates and beverages but still, it was just as fun.
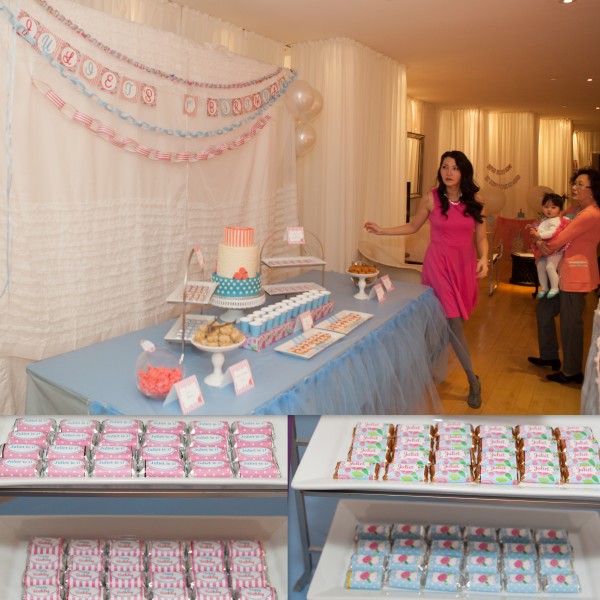
There was an ornate framed portrait of someone really random in this party lounge space, right where I envisioned the dessert bar to be placed so I had to cover it up by placing this handmade backdrop in front of it. The frame is rented from Adorama for $12 and was super simple for my handy husband to assemble even though it came without instructions. And the ruffly white, shabby chic looking fabric is actually a set of shower curtains from Target that I had never had the chance to use. Little did I know though since I never took it out of its original packaging that it would be so sheer! I had to do a last minute fix and add a white bed sheet behind it otherwise the whole thing would have been useless.
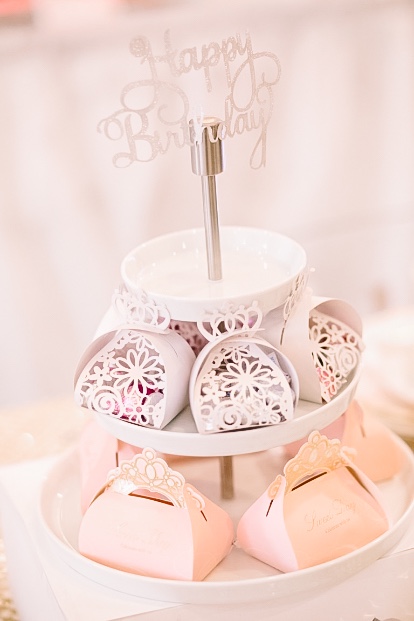
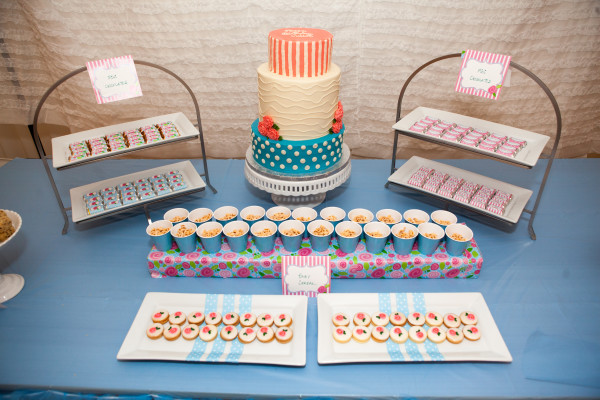
The dessert bar featured:
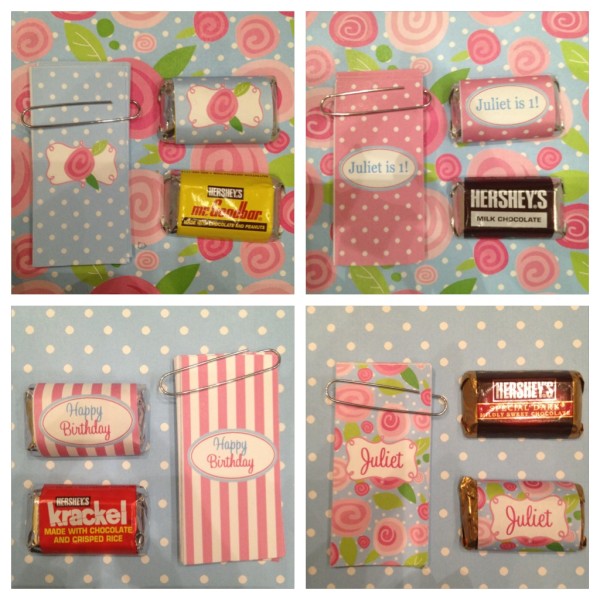
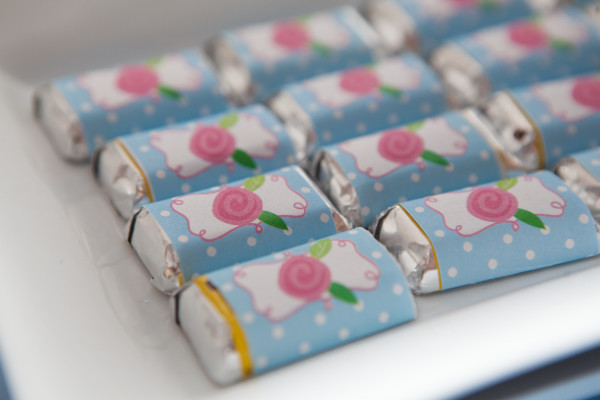
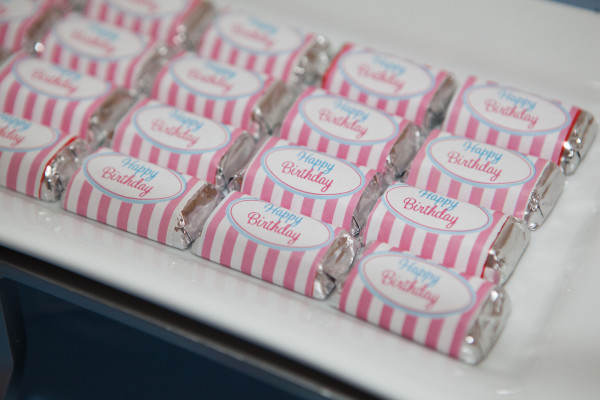
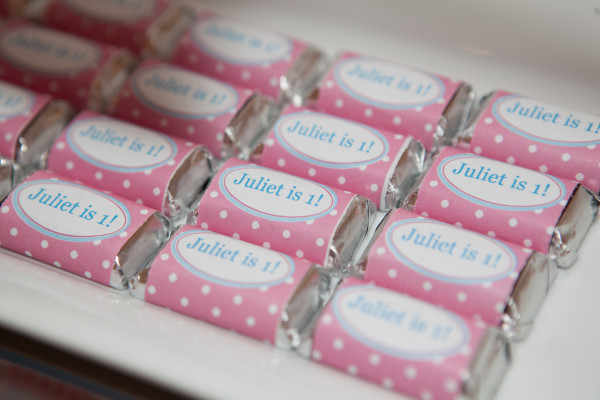
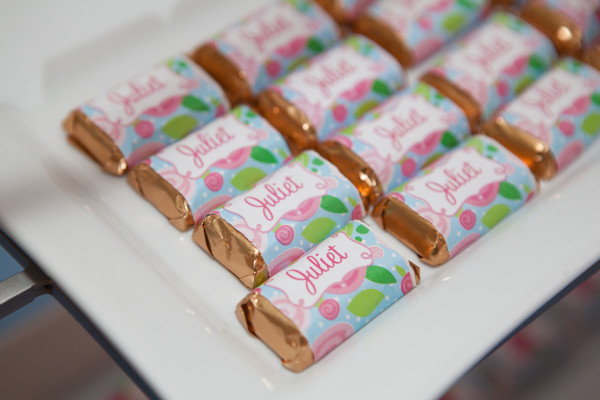
- mini-chocolates
- gummy bears
- peanut butter filled mochi
- black sesame mochi
- green tea pocky sticks
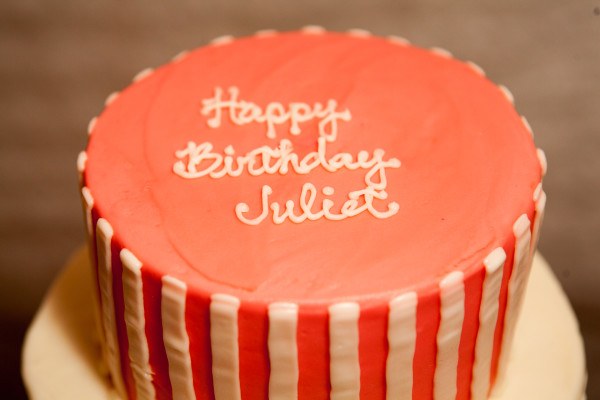
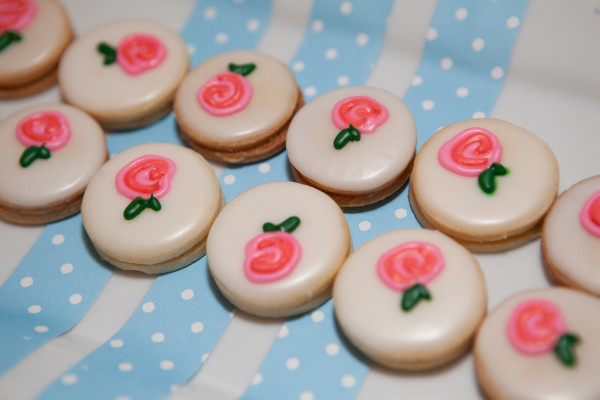
- cake
- cookies

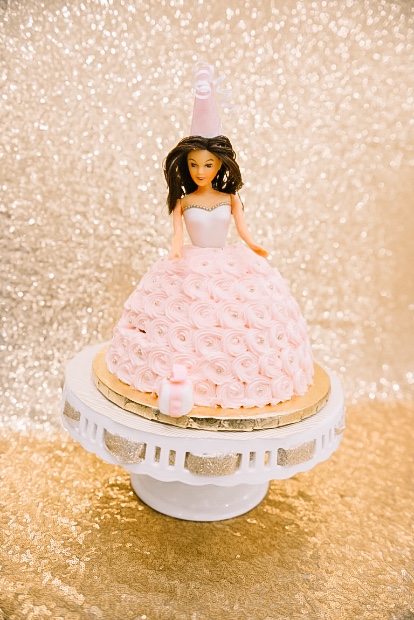
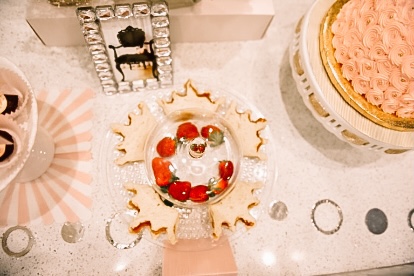
Does it bother you as much as it did me that the cake colors were off? Also I had asked for the cake to be topsy turvy style but this is what I got. There always seems to be something at every event that goes wrong, something completely out of your control comes out unlike your order and it throws a wrench in your plans. As a professional planner, I’ve come to expect the unexpected. But still, I find imperfect details like this disappointing. You can tell me I’m crazy for being stuck on such small details and I know it seems silly but I can’t help but be bothered. Also, is it me or is the cake asymmetrical and not perfectly straight? argh
Here’s a before picture of the mini chocolates. Little Juliet would have laugh attacks at the pile of chocolate before us when I had to organize the chocolates by type as step 1 of this wrapping process. Her silly laughter helped pass the initial anxiety I had when I started wondering how I was going to finish all these DIY tasks with a baby around.
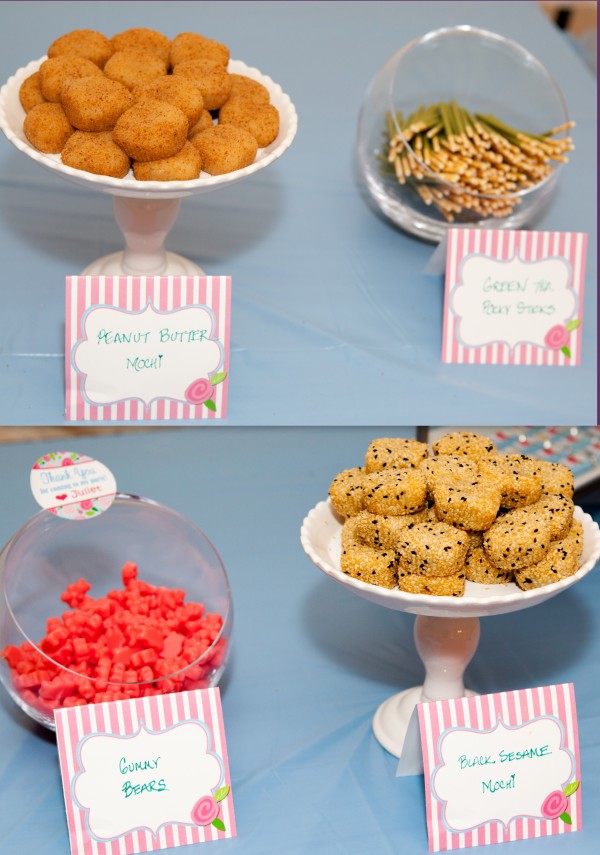
These black sesame and peanut butter mochi are SO addicting! And they’re super cute too. The bite size portions and squishy texture remind you of squeezing and eating a baby’s cheeks (something I love doing to Juliet). Can you blame me? Just look at those cheeks!
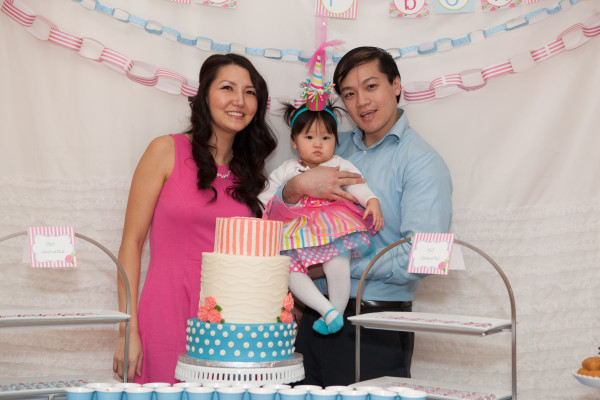
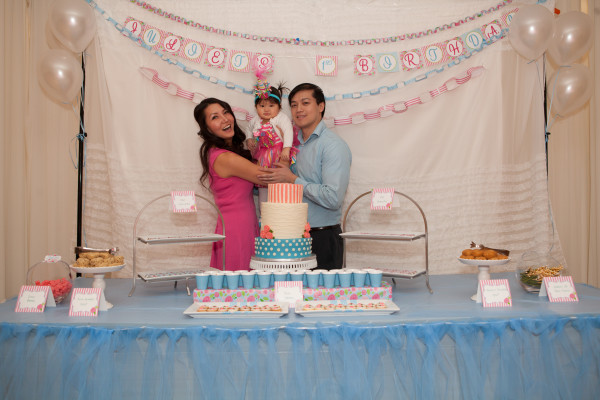
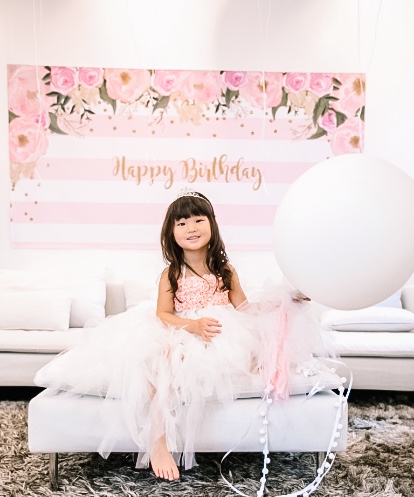
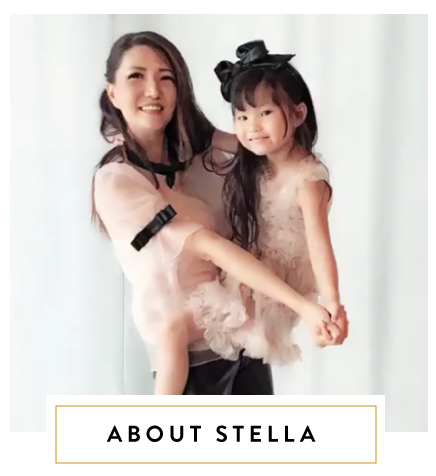
She looks like a unicorn with her hat falling into her forehead here, doesn’t she? This photo cracks me up. It also makes me giggle a little because I think instead of reading “Juliet’s 1st birthday” on the banner behind us, it should really say “we survived!” Because isn’t that what all first time parents are really celebrating during their child’s first birthday? Besides keeping her alive, we also survived 6 months of sleep deprivation, changed 2192 diapers and learned more than we ever wanted to about car seats, strollers and developmental toys. It was a whirlwind year and we made it through happy and sound.
Here’s to the best birthday that she will never remember!
Keep on the lookout for my next continued birthday post about what went wrong, and the doljabi ceremony – more details and tips about party planning! And if you haven’t already, see my earlier post about all the DIY items for this first birthday celebration.
For more tips on how to create a fabulous dessert bar click through to my earlier post here.
.