Fab Fete: Carnival Candy Bar
At the store, we had a promotion for contemporary clothing and called the event Contemporary Carnival. Our carnival was about fun, food and fashion! There were many elements but let me start with one of my favorite – the food or in this case, the dessert bar! Having studied many dessert bar photos in the past year, I’ve picked up a lot of ideas and have taught myself the tricks of the trade along the way. Knowing that the background wall is just as important as the table itself, I made sure to consider what would take up half my photo opp. Here, you see the beginnings of my setup. (1) 6′ table covered in black linen topped off with a furry piece of extra fabric that I found in our visual storage room which i simply cut to length and stapled on with a cute pom pom trim. Having browsed through Etsy.com before, I knew I could find just the right trim to customize my candy bar table. Weeks before setup day, I found the perfect trim below. It coordinated perfectly with my graphic elements (which you’ll see in this post soon) and for just $7 for 7 yards, how could I resist this adorable piece from Cathie Filian? 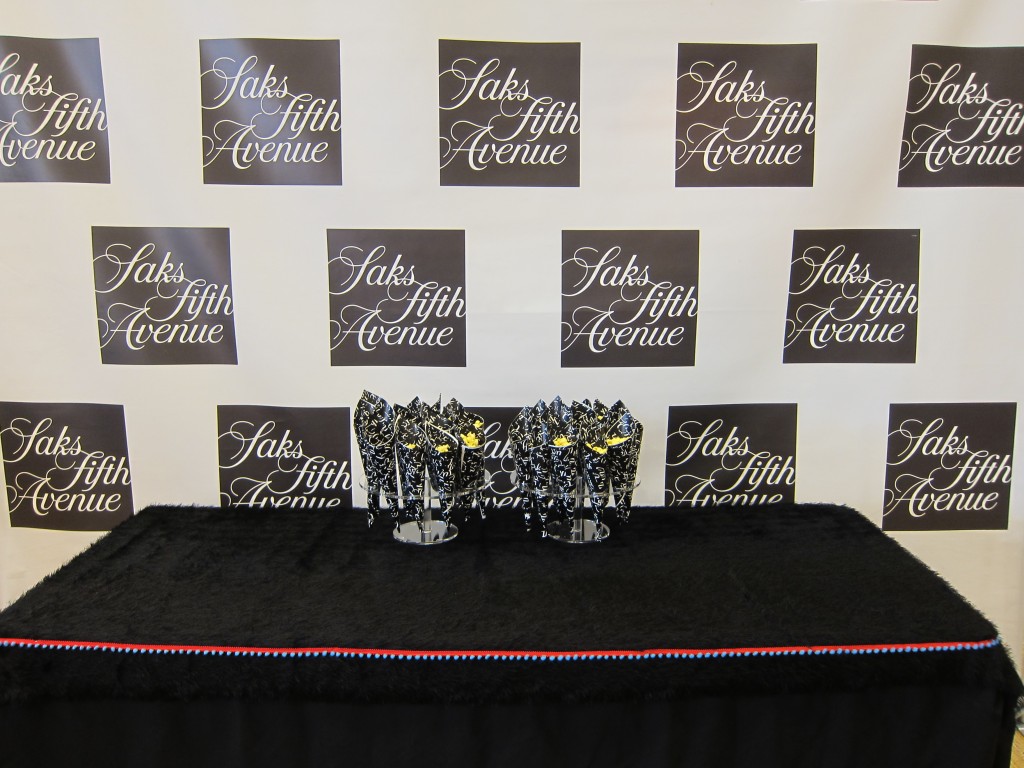
 That yellow stuff is popcorn – can’t have a carnival without one. I had my intern assemble cones out of Saks Fifth Avenue gift wrap using some simple scotch tape and scissors. What a project that was. She was sitting in the hallway of the executive office, on the floor, trying out different templates until she got it just right to which she jumped up in celebration and soon after started taping away like a madwoman. Isn’t this cheap and easy? The presentation method added a little extra branding for us too! The acrylic holders with which we held the popcorn were found online and would also be perfect for ice cream cones, cake pops and more! Below is a picture of step two. Add in the other candy elements making sure to vary the height and create symmetry.
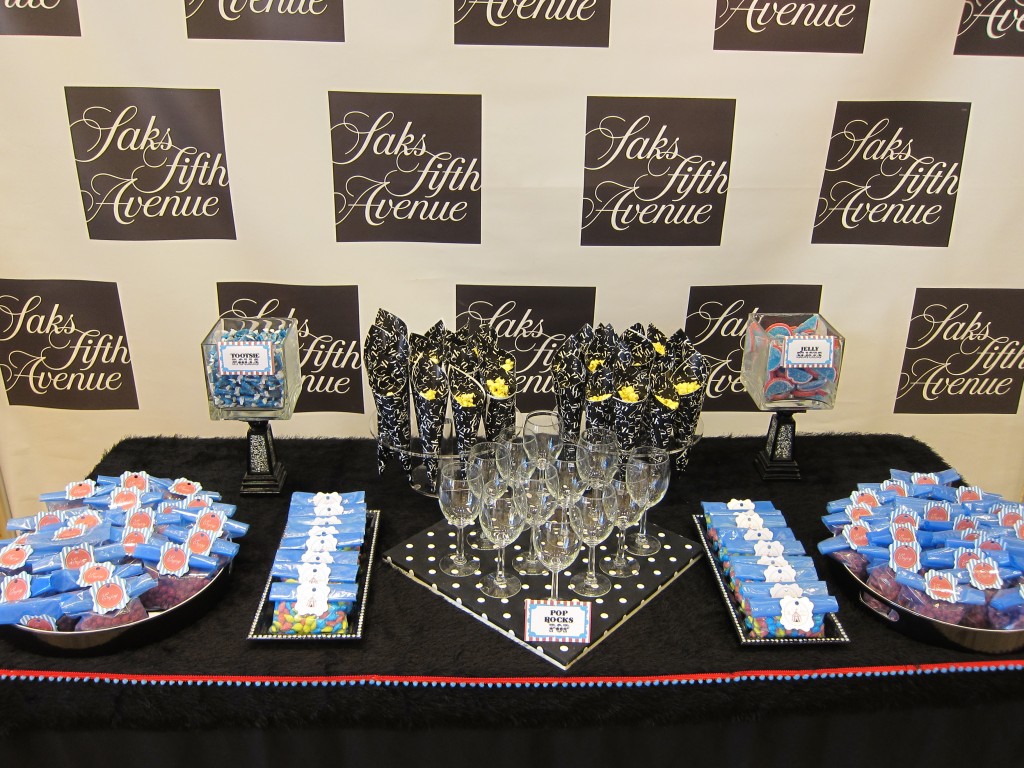
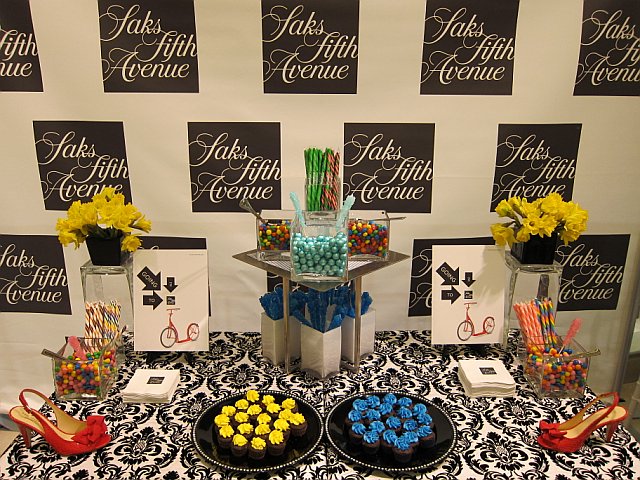
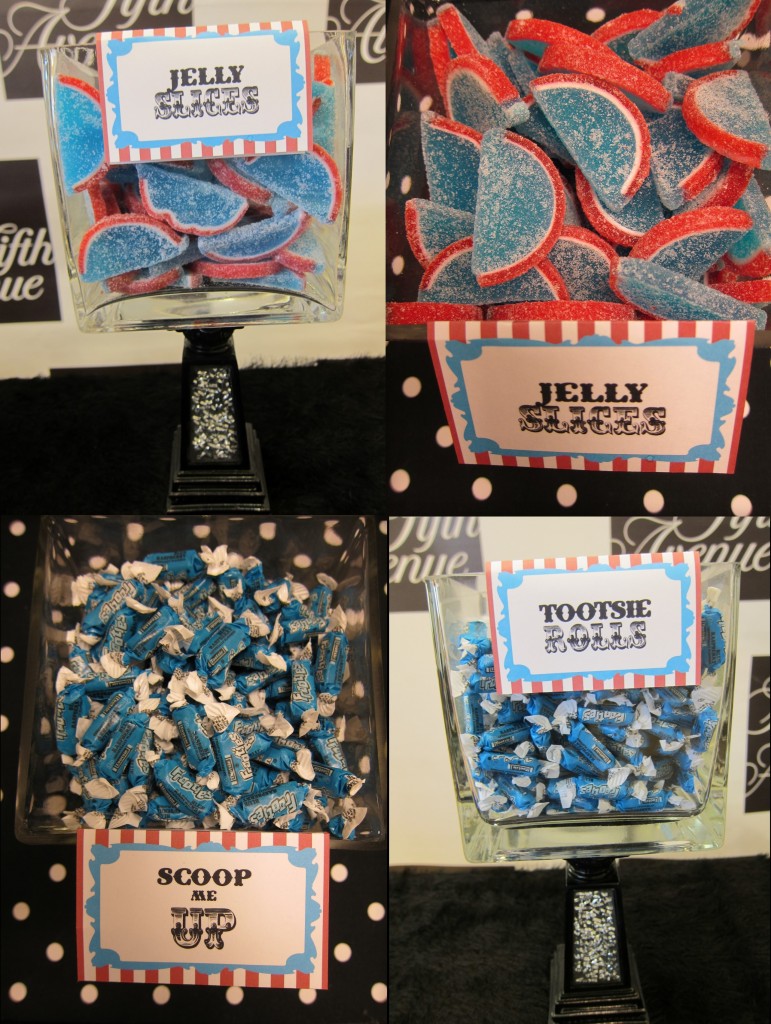 All the clear cube vases were found in the visual storage room and the black sparkly risers and bling rectangular trays were purchased at Michael’s (with coupon)! And can you believe that the black and white polka dot piece sitting on the table is actually a free find that I picked up on the streets of NY? hah I knew I could use that fabric covered canvas board someday! Dumpster diving rocks! lol JK…really! JK.
Thanks to another talented Etsy artist, Jodie from Party NV I had fabulous paper products to go along with my carnival theme. I shopped around etsy for quite some time and found the perfect design theme. She was super to work with and quickly followed up on all my customization and wording requests after all we did have to change it from Vincent’s 4th birthday to a chic fashionable event. Here is her original design template that I fell in love with.
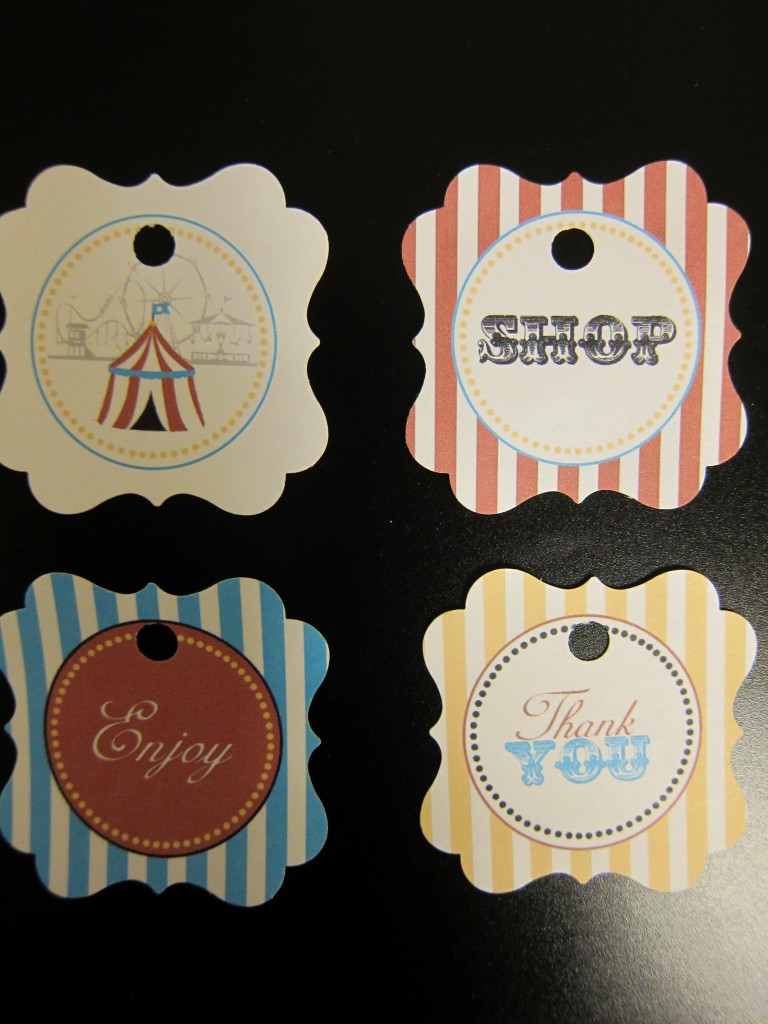
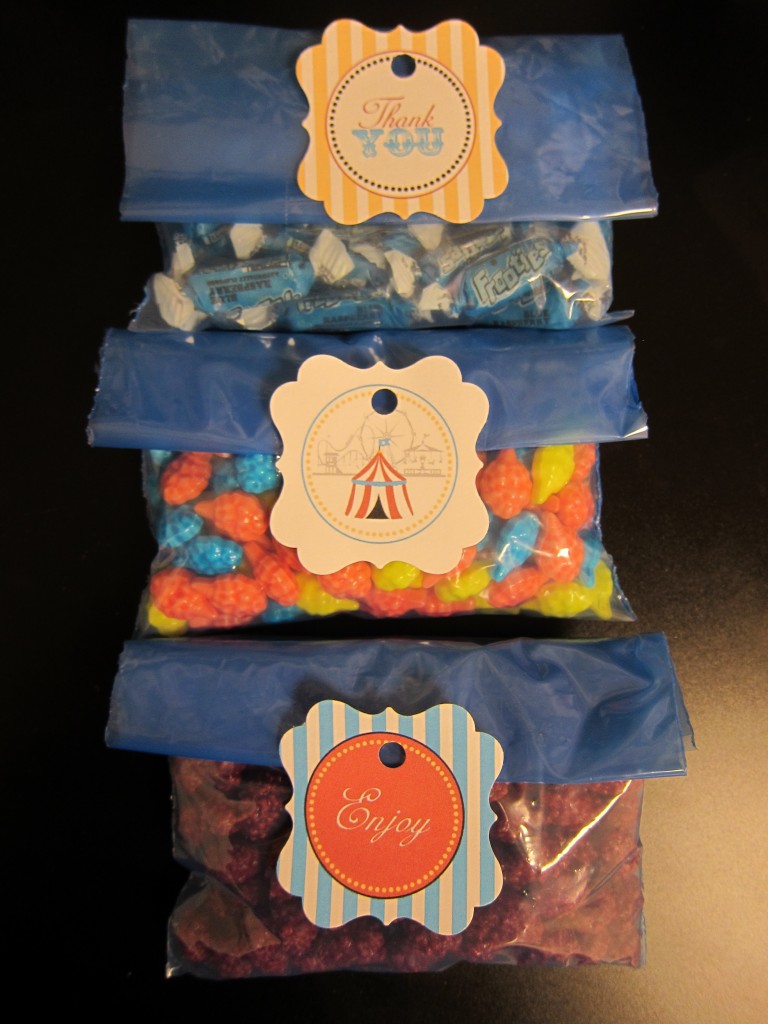
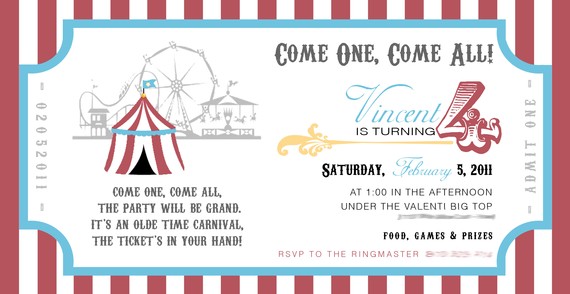 I loved the vintage feel and thought that the crimson red and bright blue would be a more elegant color combination than the traditional primary colors that were usually associated with carnivals. The color scheme also played well with our black/white base, found in all our branding. So in addition to the candy bar labels that you saw above, I also had Jodie create fashion -related hang tags which we used on our goody bags and (sorry I don’t have a picture of the goody bags). But we also used them as labels for our candy grab bags which are pictured below.
 The roasted peanuts and cotton candy (hard candies) were bought through candywarehouse.com, a site I frequent anytime I’m in need of fashionable candy. I love their search function which allows you to search for candy by color. And being as anal as I am in matching colors at my events, this search tool is quite handy and immediately lets me browse all the blue options for instance.
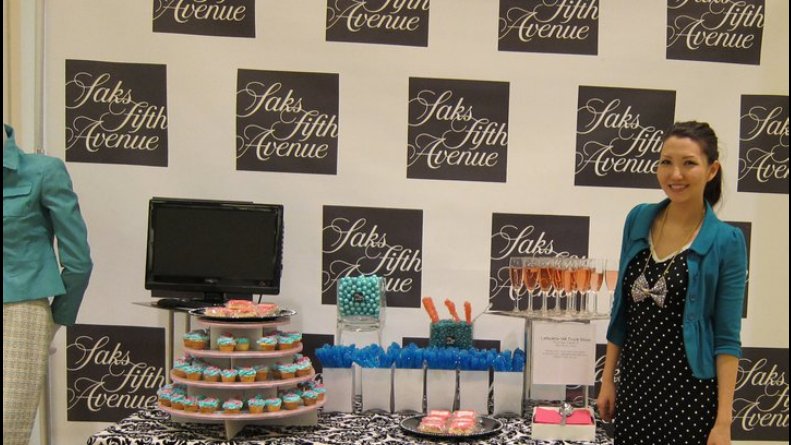
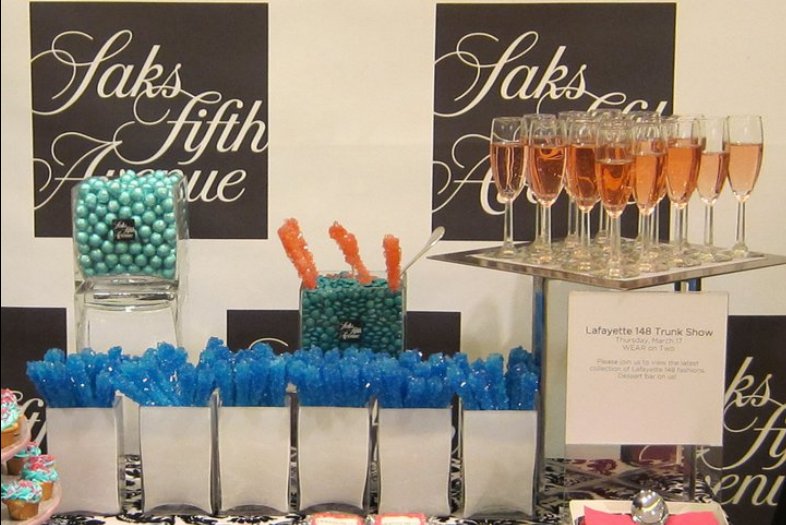
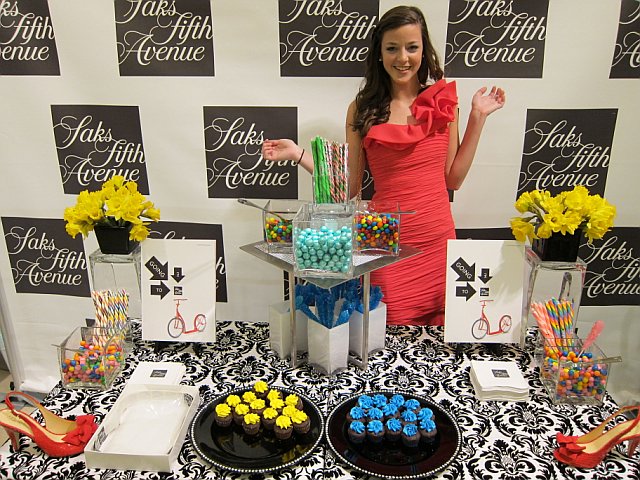
Here are some close-ups of the candy prep and the final photo of me with my candy creation!
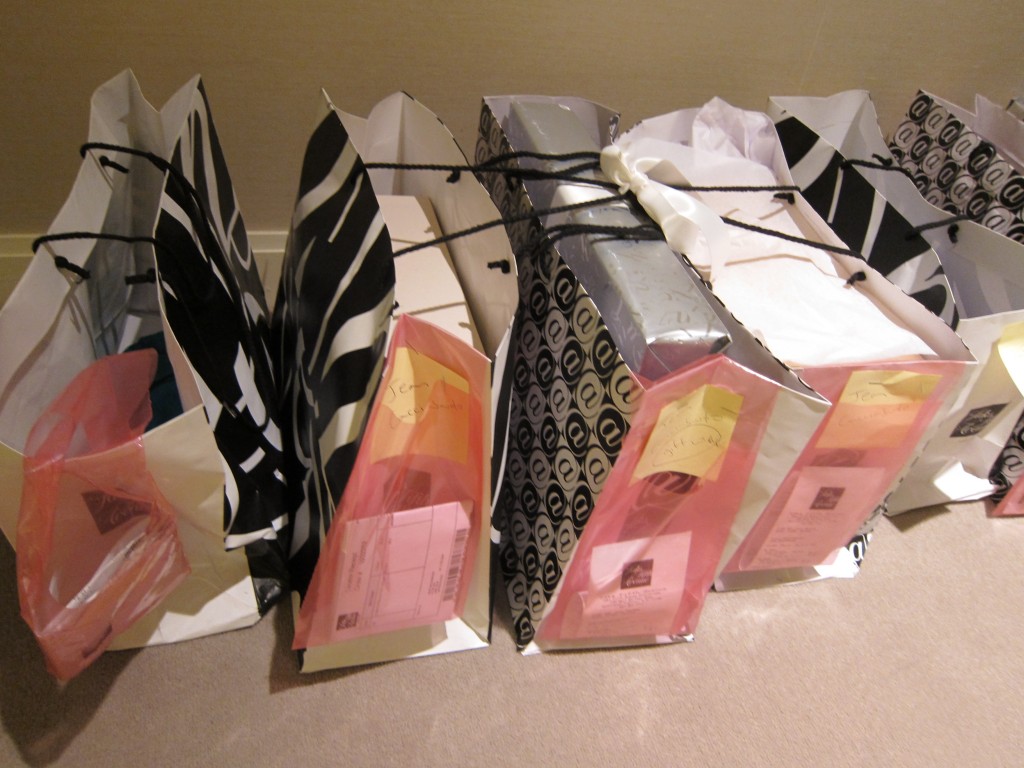
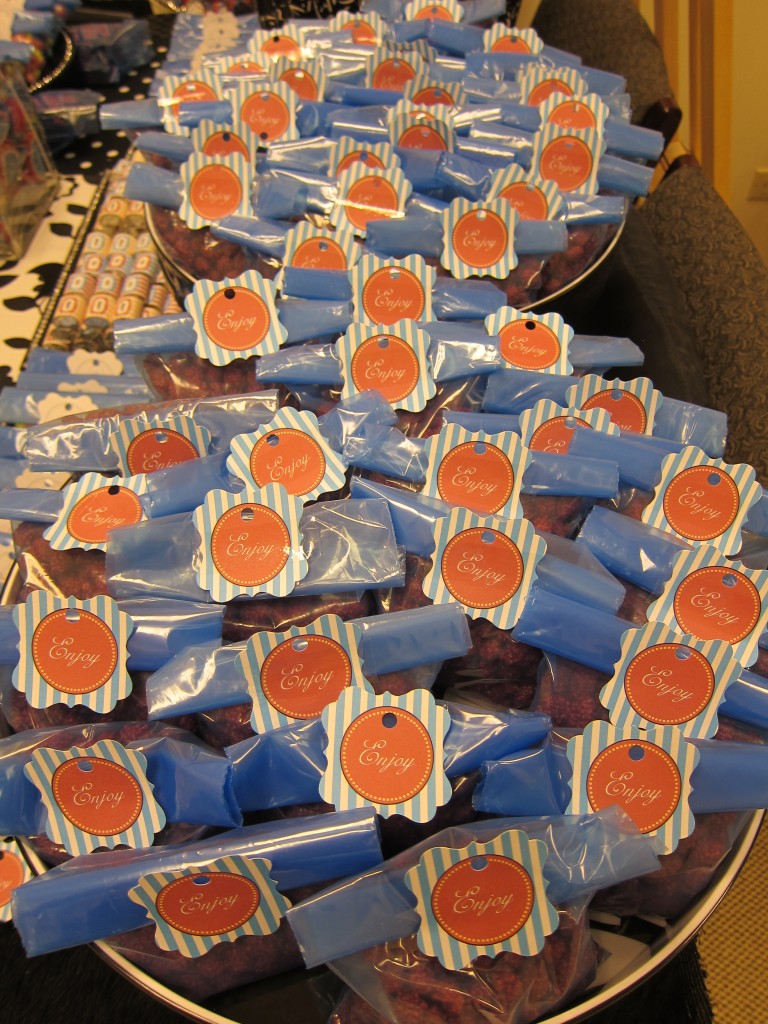 Another creative cost-saver was the fact that I re-purposed our store’s blue hanger slips into candy bags. Thsi is what the pink version really looks like and this picture below shows you how we normally use them in the store.
 All I did was cut them to size (as you can see they’re a little too long). Then I just tape them closed, hiding the tape with the “Enjoy” stickers! It pays to be creative! tip Never look at an object with just its original purpose. See the possibilities. How would it look cut? Upside down? What else can it hold? What else could it be used for? This sign holder shown below is actually a coat hanger taken apart for the event for instance. By taking off a couple stems, it became the simple pole that we needed to base our customized signs off of.
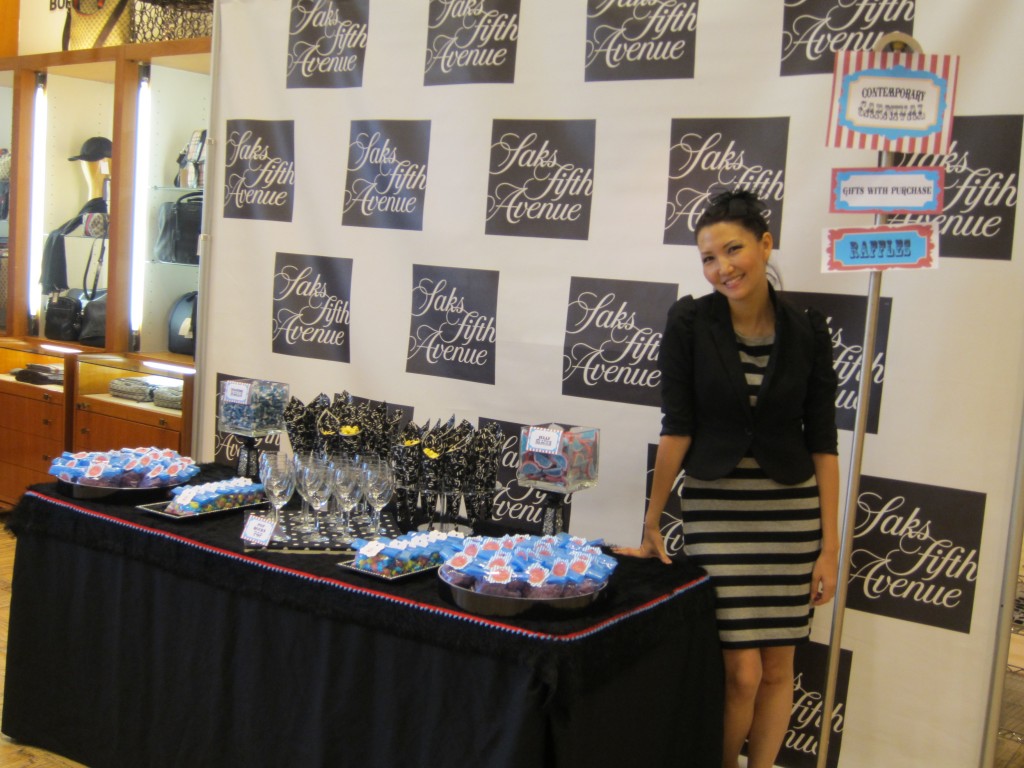 See behind me are custom Party NV signs alerting shoppers to our in-store raffles, gifts with purchase and contemporary carnival themed event. For event hours, I hired a cute staffer and dressed her in Saks clothing, themed of course, to the carnival look.
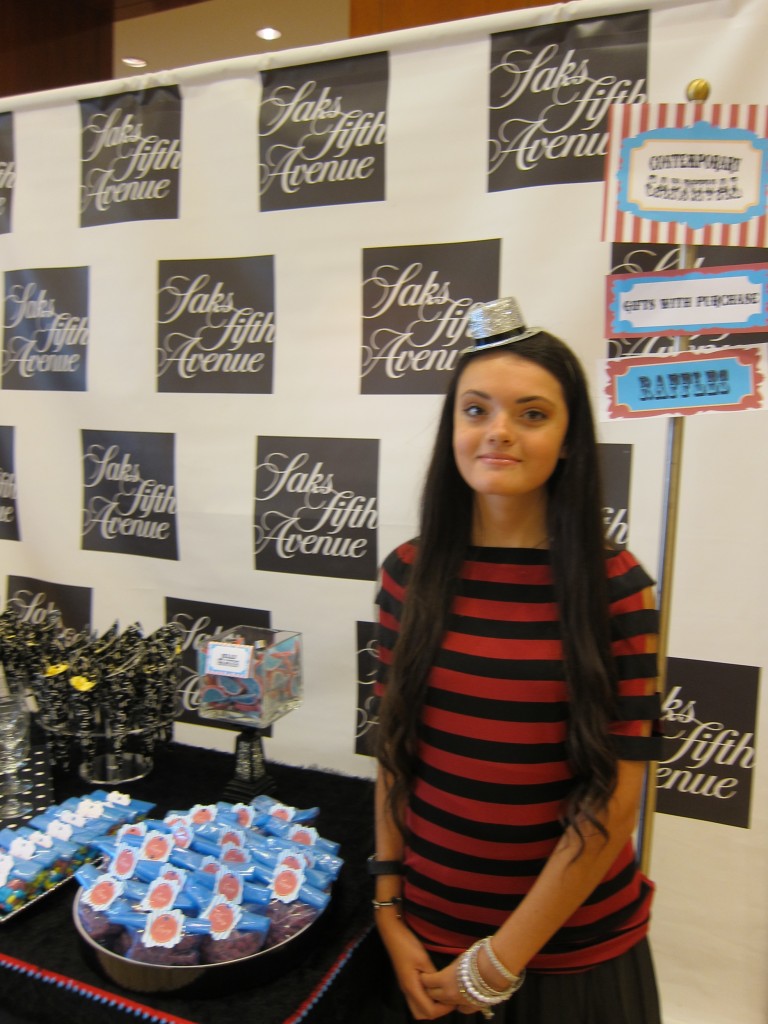 She helped to serve guests, treat them to some Pop Rocks Pop and keep the area nice and tidy. I should have had her watch out for freeloaders too because one lady came back and stuffed her purse with as much as she could before walking out!!
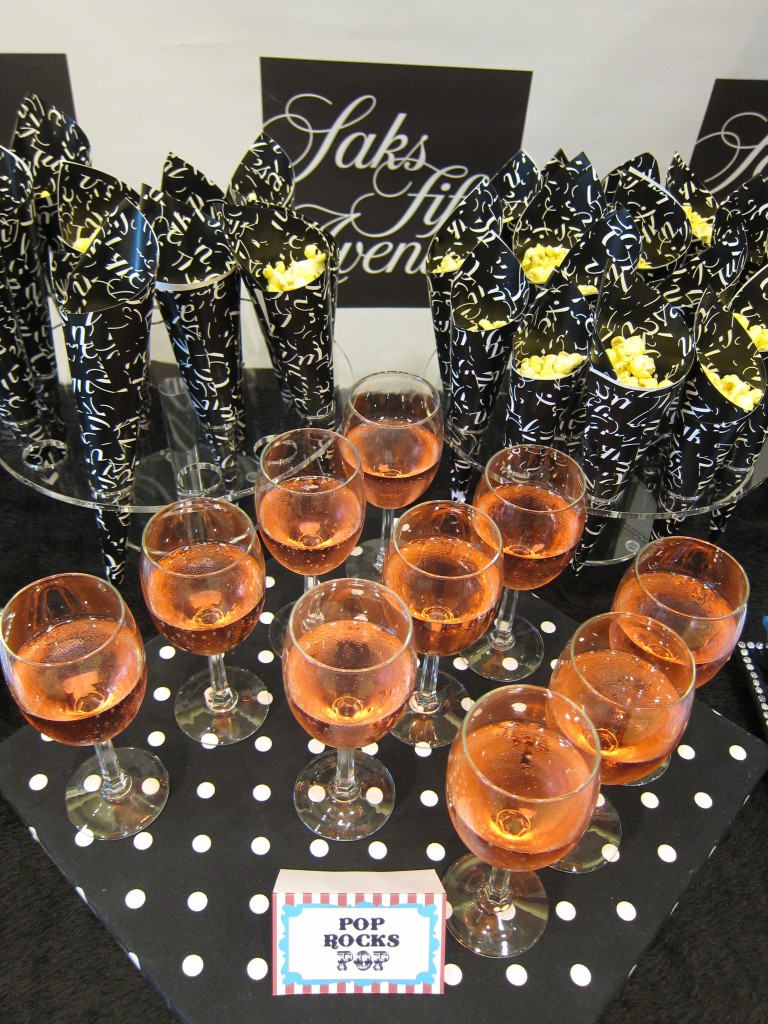
The Pop Rocks Pop was basically just red soda with a sprinkling of Pop Rocks, that nostalgic explosion-in-your-mouth candy that brings you back to your younger years. It was a concoction I dreamt up after browsing the online candy sites. I actually liked that the red and black Pop Rocks packaging matched my candy bar and was playing with different ways to incorporate them into the whole look. Why not sprinkle it onto drinks for a little snap crackle, pop?!
Stay tuned for my follow-up post on the contemporary carnival’s magic makeovers, clown shoe cupcakes, pin the purse on the fashionista and fashion fortune telling! There’s just so much to share! Please don’t forget to leave your comments here and let me know what you think!

