




Secrets To Stylishly Designing a Kids’ Table
If you saw my last post recapping Dining By Design, otherwise known as DIFFA, the leading trade show for table decor and party design, you know I love a fabulous tablescape! Here, I’m going to share with you some of my top tips for designing a stylish kids’ tablescape using pictures from my daughter’s bunny birthday party that I just produced!
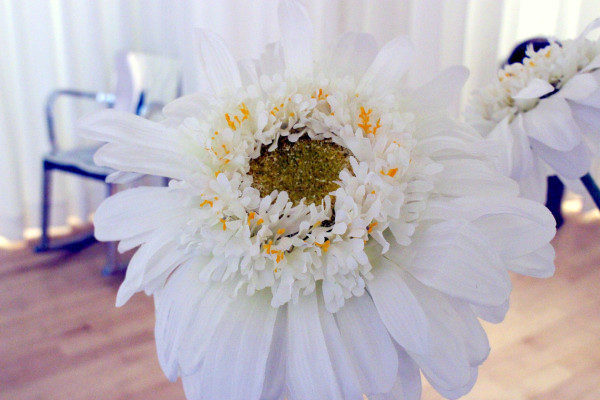 As a party planner, I’m a little jaded when it comes to party decor. I’ve pretty much seen it all. So when I plan my own, I like to stray from the ordinary and try to feature some unique items to wow and surprise. For instance, for the bunny birthday that I threw for my daughter’s 3rd birthday, I added a whimsical wow factor with a tall, supersized sunflower centerpiece.
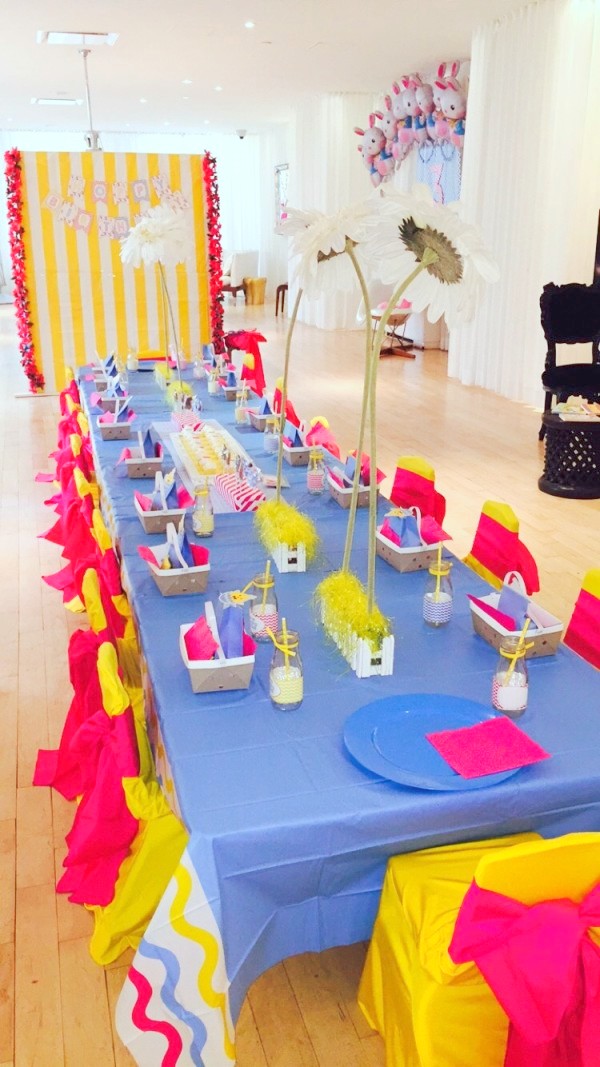 I bought the tall silk flowers during a sale at Michael’s. Don’t you love that place?? And I purchased the picket white fences from a Chinese wholesaler. The secret to keeping everything in place?? Flower foam, hot glue, yellow grass and juice boxes to weigh everything down! It created an immediate fun factor to the table and was a conversation piece as you walked into the room!
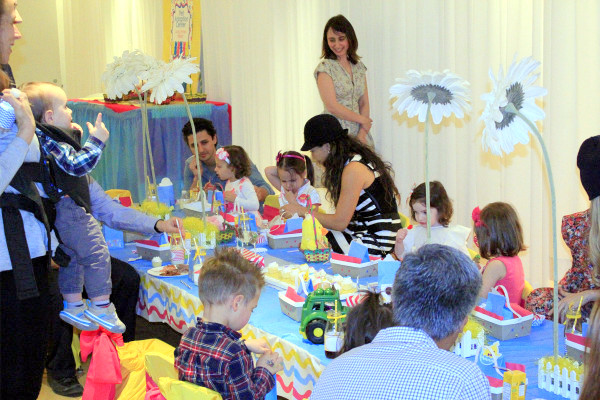
You’ll see that the party space (within our building) fortunately had free kids tables and chairs for us to use but the chairs were a mish mash of different colors so I made them uniform with some spandex yellow seat covers (adult sized) and fitted them with a chair sash turned into a bow. I bought both materials wholesale which made them cheaper than renting and now I can use them for future events or sell/rent them out to others! Finally, I covered additional side tables (used for the pet adoption) in coordinating gift papers and covers.
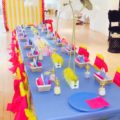
The trick to creating a couture feel without the couture prices at this kiddie table, was in color coordinating EVERYTHING. Be super strict about matching exact shades when it comes to purchasing napkins, straws, forks, cupcake toppers… Everything will look much more custom and professional if you do! It bothers me to no end to see something a shade or two off when I have already sent snippets of the exact fabric for the cake maker to match. i.e. Juliet’s 1s birthday party.
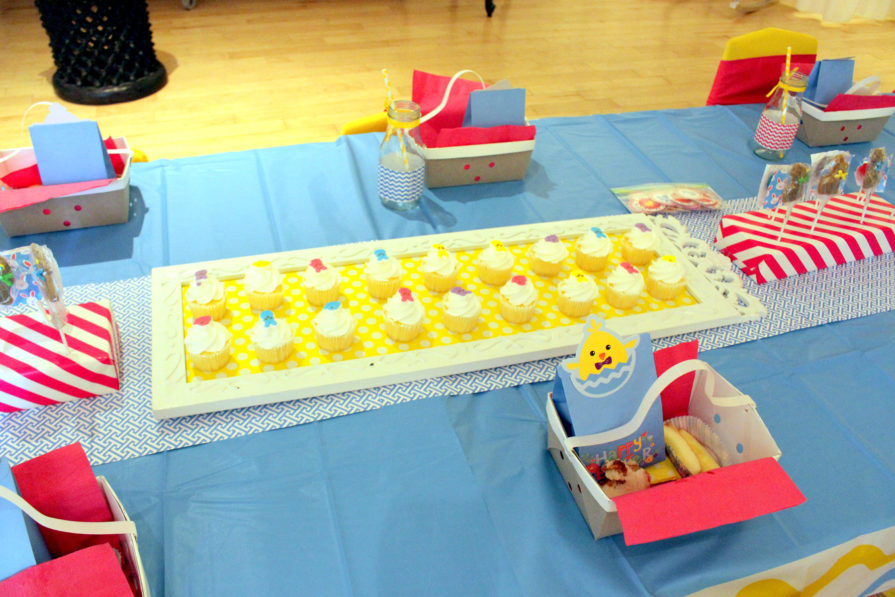
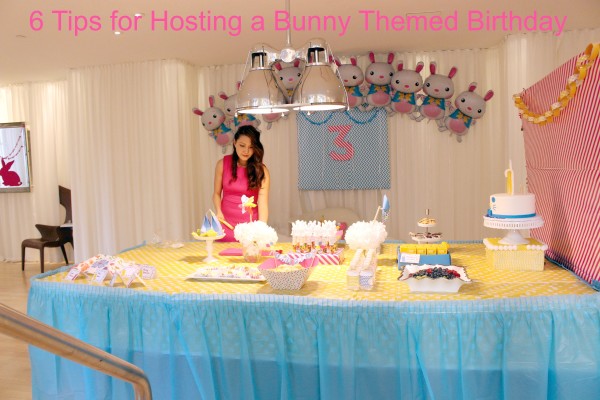
That’s why I often customize my table decor down to the very last detail. Notice the paper runner, the frame turned into a tray, the milk bottles covered in coordinated papers and ribbons, and the covered styrofoam to stick the lollipops and chocolate bunnies in.
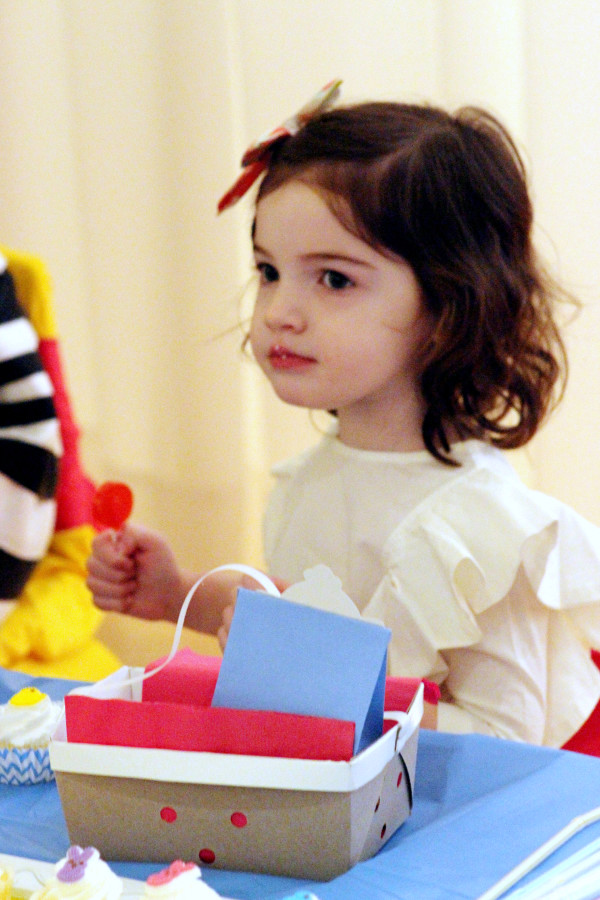
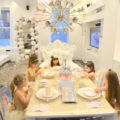
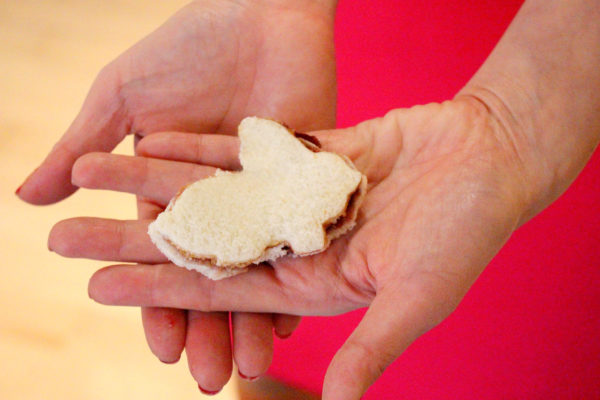
And to go along with the Easter timing, I presented each child with their own berry basket in lieu of a dinner plate. Inside you’d find, a pink napkin, bunny-shaped sandwich, bunny trail mix (popcorn and cheerios), pretzel sticks wrapped in a yellow and white polka dot mini-bag, & a cupcake holder filled with fruit. The milk jars featured the child’s beverage of choice. 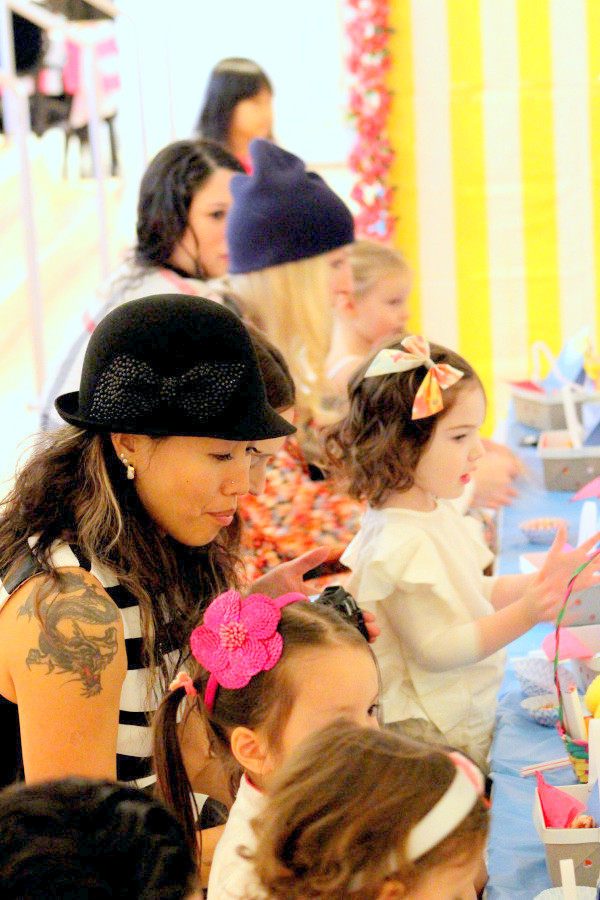
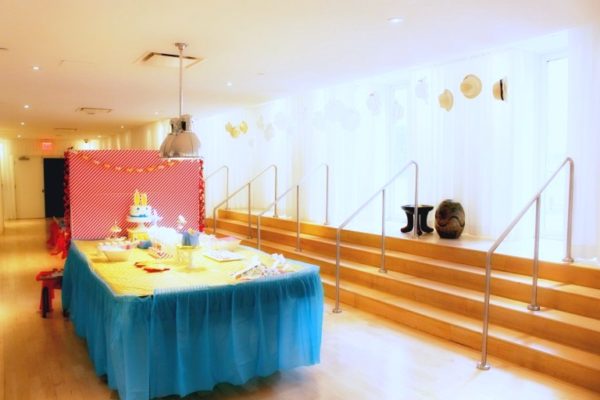
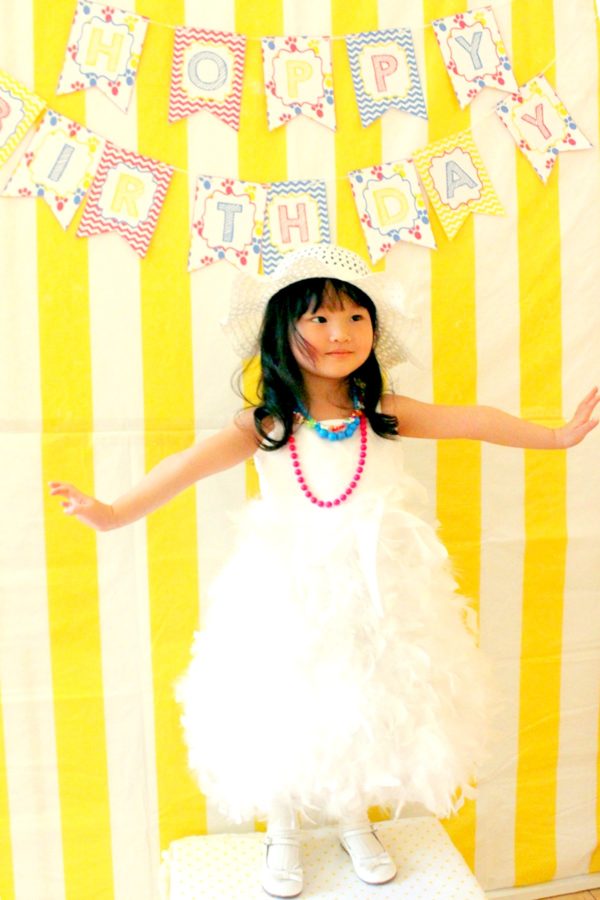
Knowing that the pool table would be in the background, I also crafted the yellow and white backdrop that you see above. With help from Mialandyn Events who helped build the actual structure out of foam core, tape and wood, I covered it in coordinating fabrics, floral garlands and gift wrap on the other side.
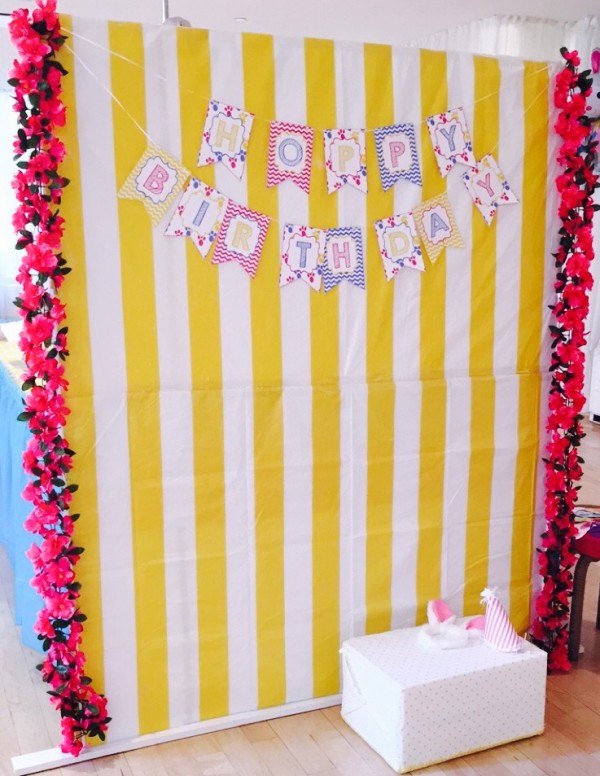
When designing your tablescape, always consider what you’ll see in the background of your photos. In this instance, I didn’t want a pool table to be in all my pictures so I dressed it up, used it as the food and dessert station, and created a photo opp area on the other side of it making double use out of the one backdrop piece! (That coordinating box that you see above by the way is simply a diaper box covered in fabric and it was great for kids to stand or sit on). I’m a huge fan of creatively using what you have to save money.
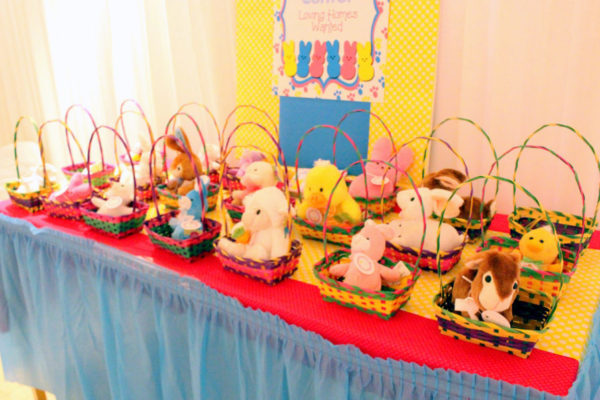
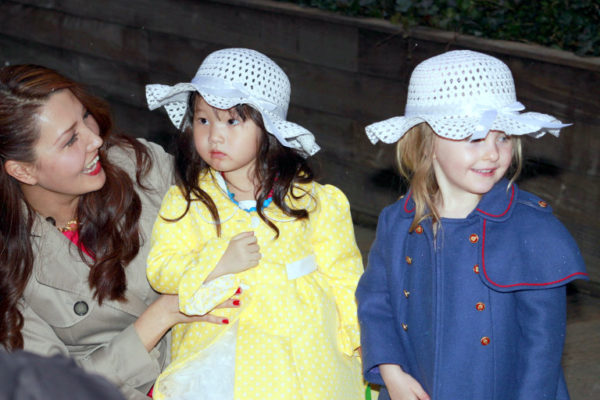
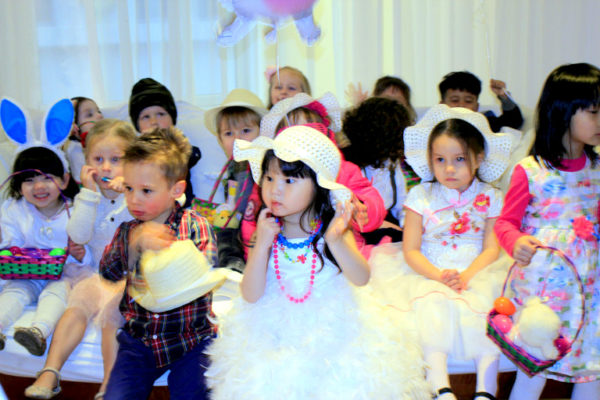
Here’s what it looked like on the other side during setup (The dinner menu of baked salmon, pulled pork, sweet plantains, beans and rice had not arrived yet). Those Easter hats that you see hanging from the ceiling there by the way were given to each child in lieu of a party hat. They were SO cute ON (one of my amazing finds in the Target $1 bin!)
To summarize, here are some useful secrets from a professional party planner turned mommy planner that you can use when designing a kids’ tablescape:
- Color – Coordinate EVERYTHING. Be Hitler when sticking to this rule and your table will thank you for it!
- Consider the background for your most important shots. What’s behind the cake? What’s behind the kids’ table? Remove or disguise eyesores.
- Add a themed centerpiece. Not only is it a conversation starter but it can really stand out and turn your average kids’ table into a standout stunner!
- Think out of the box. How about an enlarged candle in a cake, for a one year old’s birthday (the kind you’d stick in a candlestick?), how about a coordinated paper place mat that they can draw on, safari hats instead of birthday party hats for a safari themed event?
- Decorate your chairs. Hang birthday hats from them, use them as place cards by assigning a child’s name to each one, hang a giftable cape on each one for a superhero themed party, slide tutus on them for a girly get together.
For more kids’ party inspiration, check out some of my other Fab Kids party posts and please leave a comment with your thoughts on these tips or let me know what you’re currently brainstorming and I’d be happy to help you!
my Disney sponsored princess in training party
my gingerbread man cookie decorating play date sponsored by Bright starts
my Hello Kitty play date sponsored by HP
my pancakes and pajamas play date
Thanks for reading!
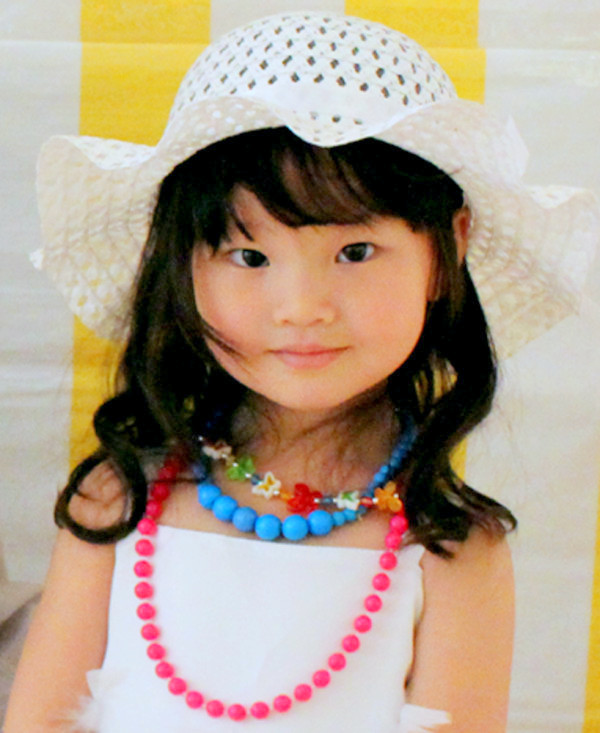
Special thanks goes out to Image Ready for the pictures used in this post!

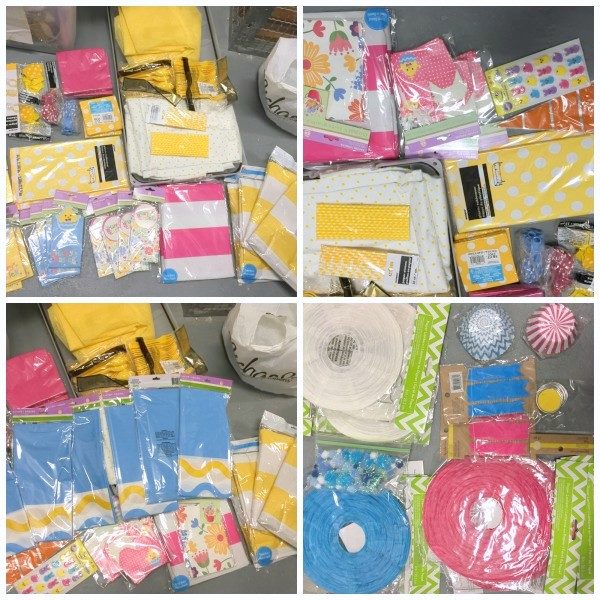 After having taken her Easter photos last year and having been challenged by my husband with the question of what I’m going to do with these print outs, I came up with the idea of putting them to use by displaying them at a future bunny themed birthday party! With that in mind, I immediately went shopping the day after Easter to snag all the party decor at 80-90%off. (I have to work within a budget, ya know)! From there, I scoured the web to find the perfect crafty, DIY, and fashion details buying everything at wholesale prices, and scoring amazing finds from the Target dollar bins. After having waited months to see it all come together, you can imagine my excitement finally getting to set it all up!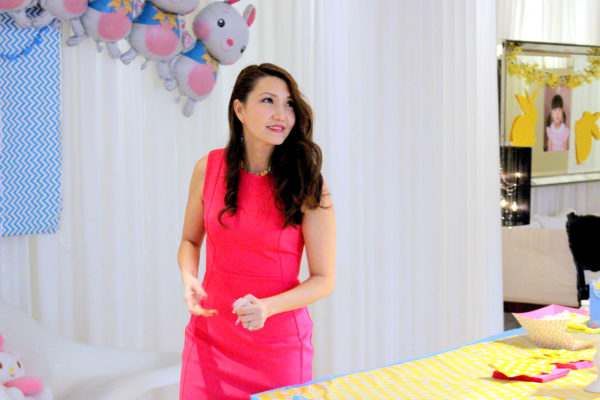
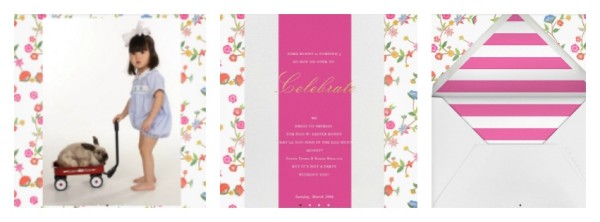
 2. Post Easter or bunny themed photos of the guest of honor. We all like to marvel how much kids have grown during a birthday party so why not post pictures within the party’s theme? Last year for Juliet’s
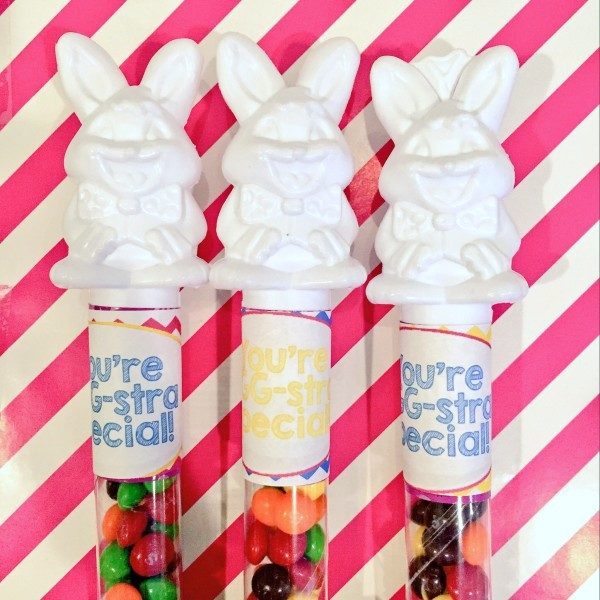
 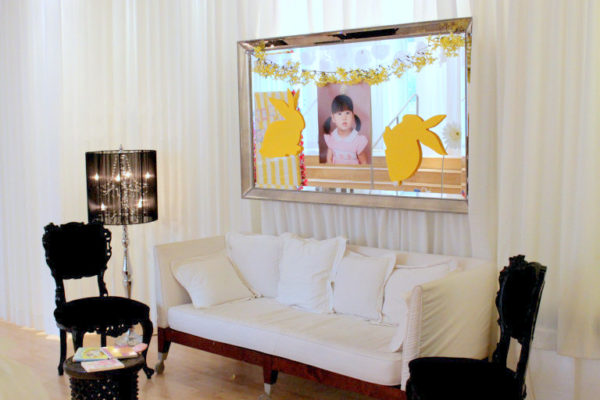 3. Bunny cut outs. There are so many ways to incorporate a decorative bunny as part of the party’s decor. I used enlarged bunny felts, bunny shaped-sandwiches, and bunny footprints leading up to the party’s entrance. For more ideas, check out my
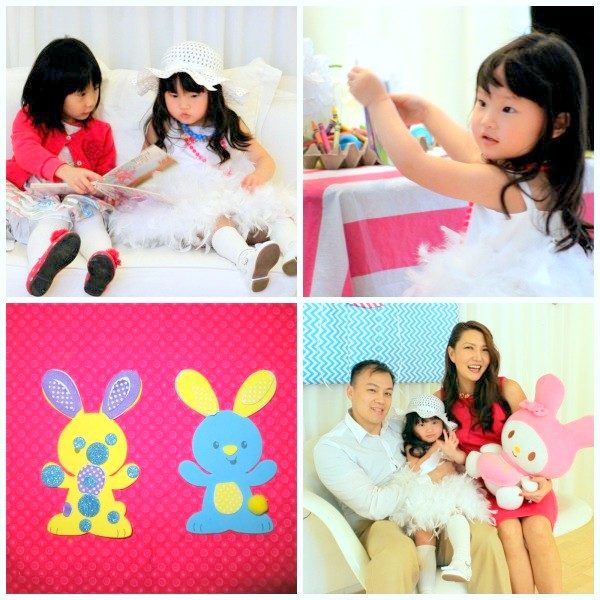
  4. Offer bunny – themed entertainment for the kids. There was a coloring and sticker station, bunny book reading area, bunny game, a bunny and easter egg decorating area, bunny stuffed animals to play with and an Easter bunny to take pictures with at our party for instance. All were toddler-friendly activities that parents could help out with or not! (Note how easily a borrowed Bugs Bunny costume can easily be converted into an Easter bunny with a simple felt add-on)?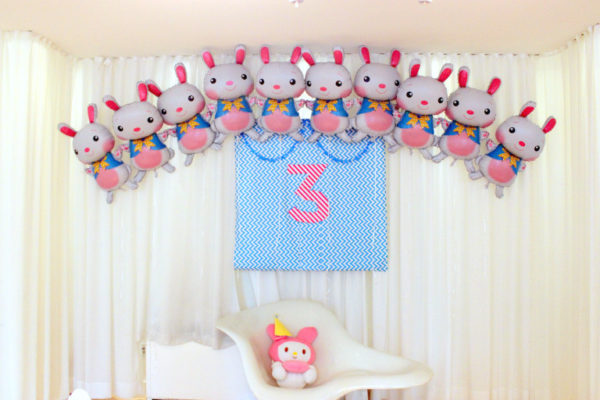
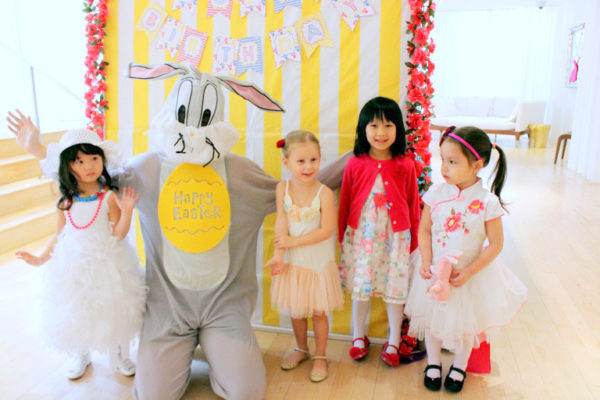
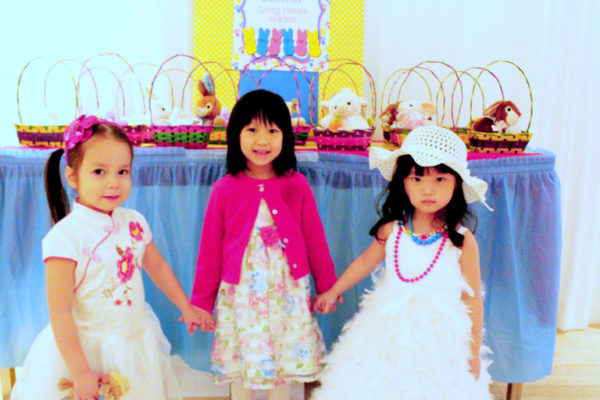
 5. Encourage Easter animal adoption! A fun way for me to greet each guest at the door was to welcome them with the opportunity to adopt a pet of their choice. Cabbage Patch Kid Style, they were given a certificate of adoption after getting to name their new pet.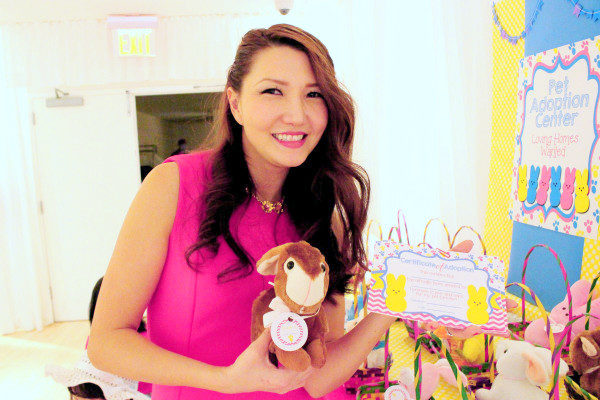
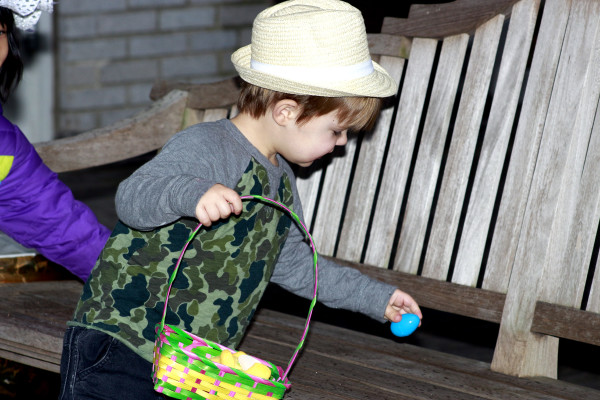
 6. Host an Easter egg hunt! Juliet helped me fill a whopping 200 Easter eggs. (Child labor laws don’t apply in my home)! And the kids really seemed to have fun with this. I loved it as a parent because the public Easter egg hunts in NYC are always overcrowded which means long lines, toddlers getting trampled, and the big kids getting to the eggs before the little ones have a fair chance at finding them. Our private rooftop park gave them the exclusive opportunity to enjoy a leisurely hunt (ehem during a light drizzly snow day the day before Spring)!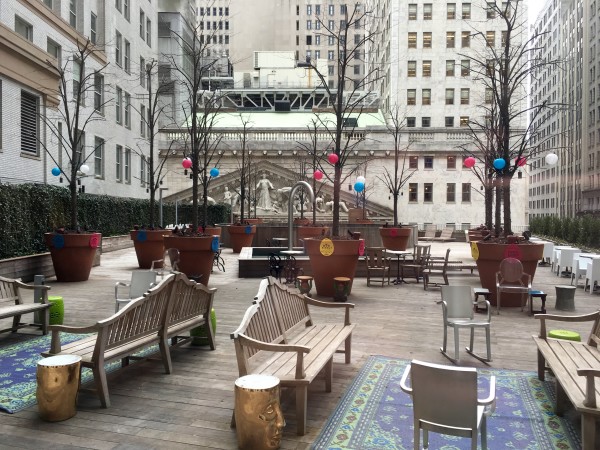
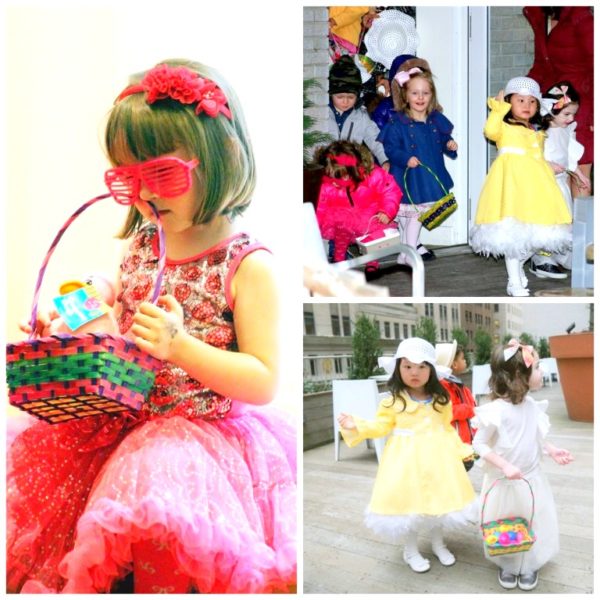 The Easter eggs were filled with everything from egg-shaped chocolates to toys to coins and googly-eyed bunny stickers!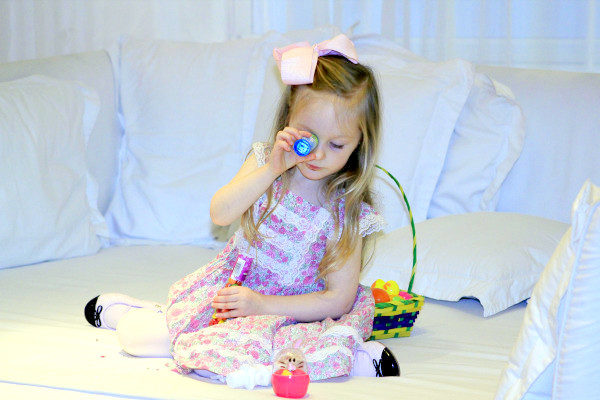
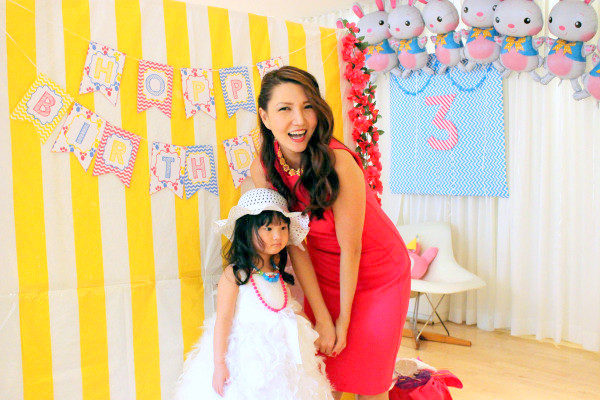 I think I smiled ear to ear the whole time being surrounded by all these cuties!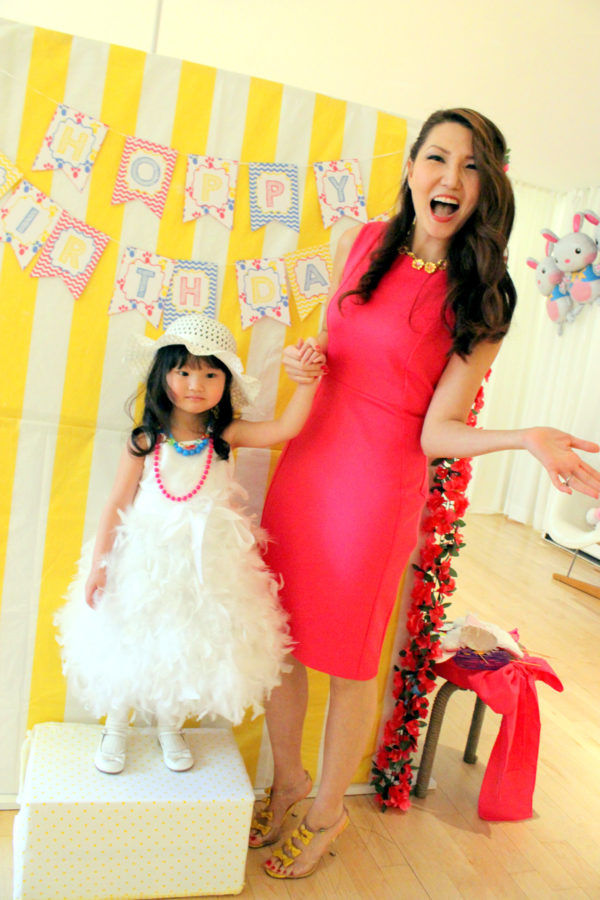
 I liken planning this party to giving birth. It took 10 months of research, planning, buying, and preparing, and then intense laboring culminating in estatic celebration with post-op type recovery and bed rest in the end. Phew! I don’t think I’ve ever worked so hard on any one event, simply because I’m a one-mom production company. But come load-in and setup, I did have a little help from friends! Thanks Roniescia, Janell, Stacie and even John and Juliet! Read on about my tips for